
DIY Bible Journaling Giving Cards: A Card That Keeps Giving
Ever since I was an up and coming teenager in the 80’s, I’ve been making cards for people as a way of sharing love and encouragement. Back then I didn’t have many supplies so I resorted to cutting out tiny card illustrations from greeting card catalogs and gluing them to construction paper to make cards no bigger than an inch or two.
Over the years my love for creating handmade cards has grown and evolved resulting in an exciting discovery a few years ago.
It was a day I’ll never forget. My dear friend had called me with a heavy heart to explain the grief she was experiencing. I wanted to make a card for her, but I also wanted to give her a blank handmade card so that she could give it to her mother who was also grieving. Instead of making two, I made one card with a pocket for the handwritten note that could be removed and replaced with another personal message to be given away again.
On that day, the “Giving Card” was born.
Today I’ll show you how to make one so you can bless someone with a note of encouragement and a meaningful verse along with a vehicle for them to pass along a message of their own to someone else.
Imagine the joy of receiving a beautifully crafted card with a carefully chosen Bible verse, and the anticipation of passing it along to a friend, spreading encouragement along with it. Creating these giving cards is not only a creative endeavor but also a meaningful way to foster connections and share the beauty of God’s Word.
Here’s how you can create your own Bible Journaling Giving Card:
Step 1: Gather Your Supplies
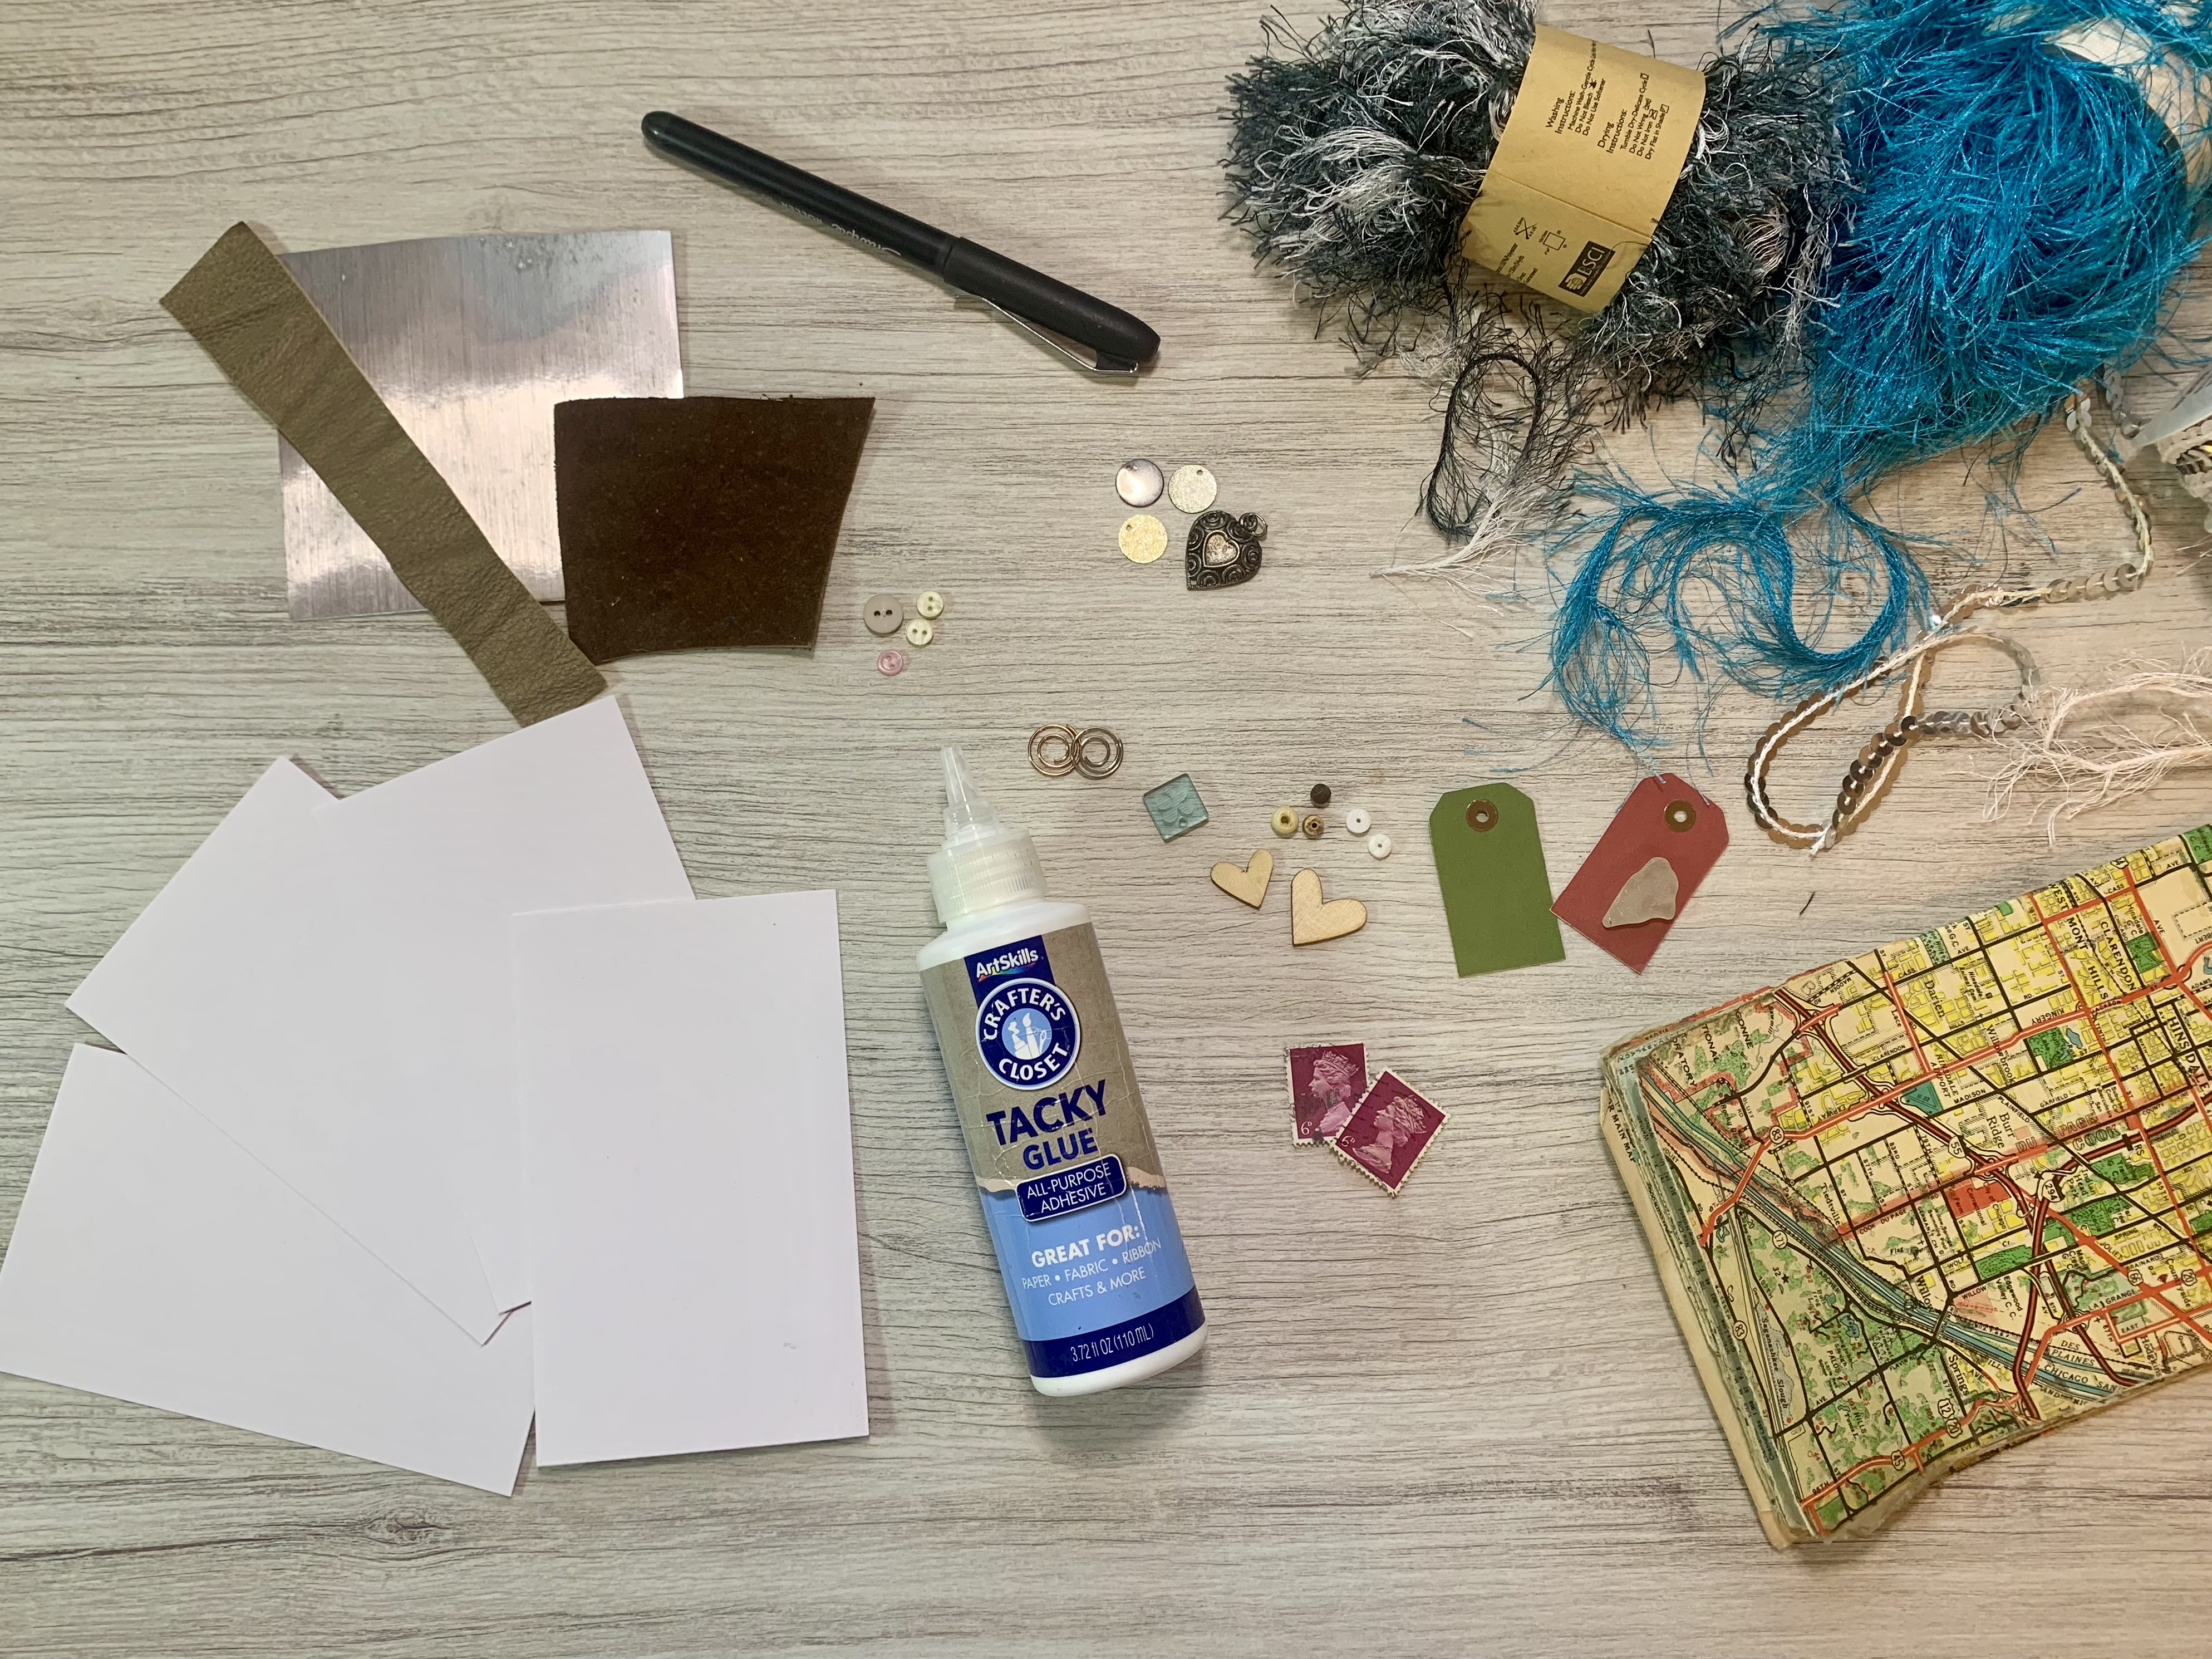
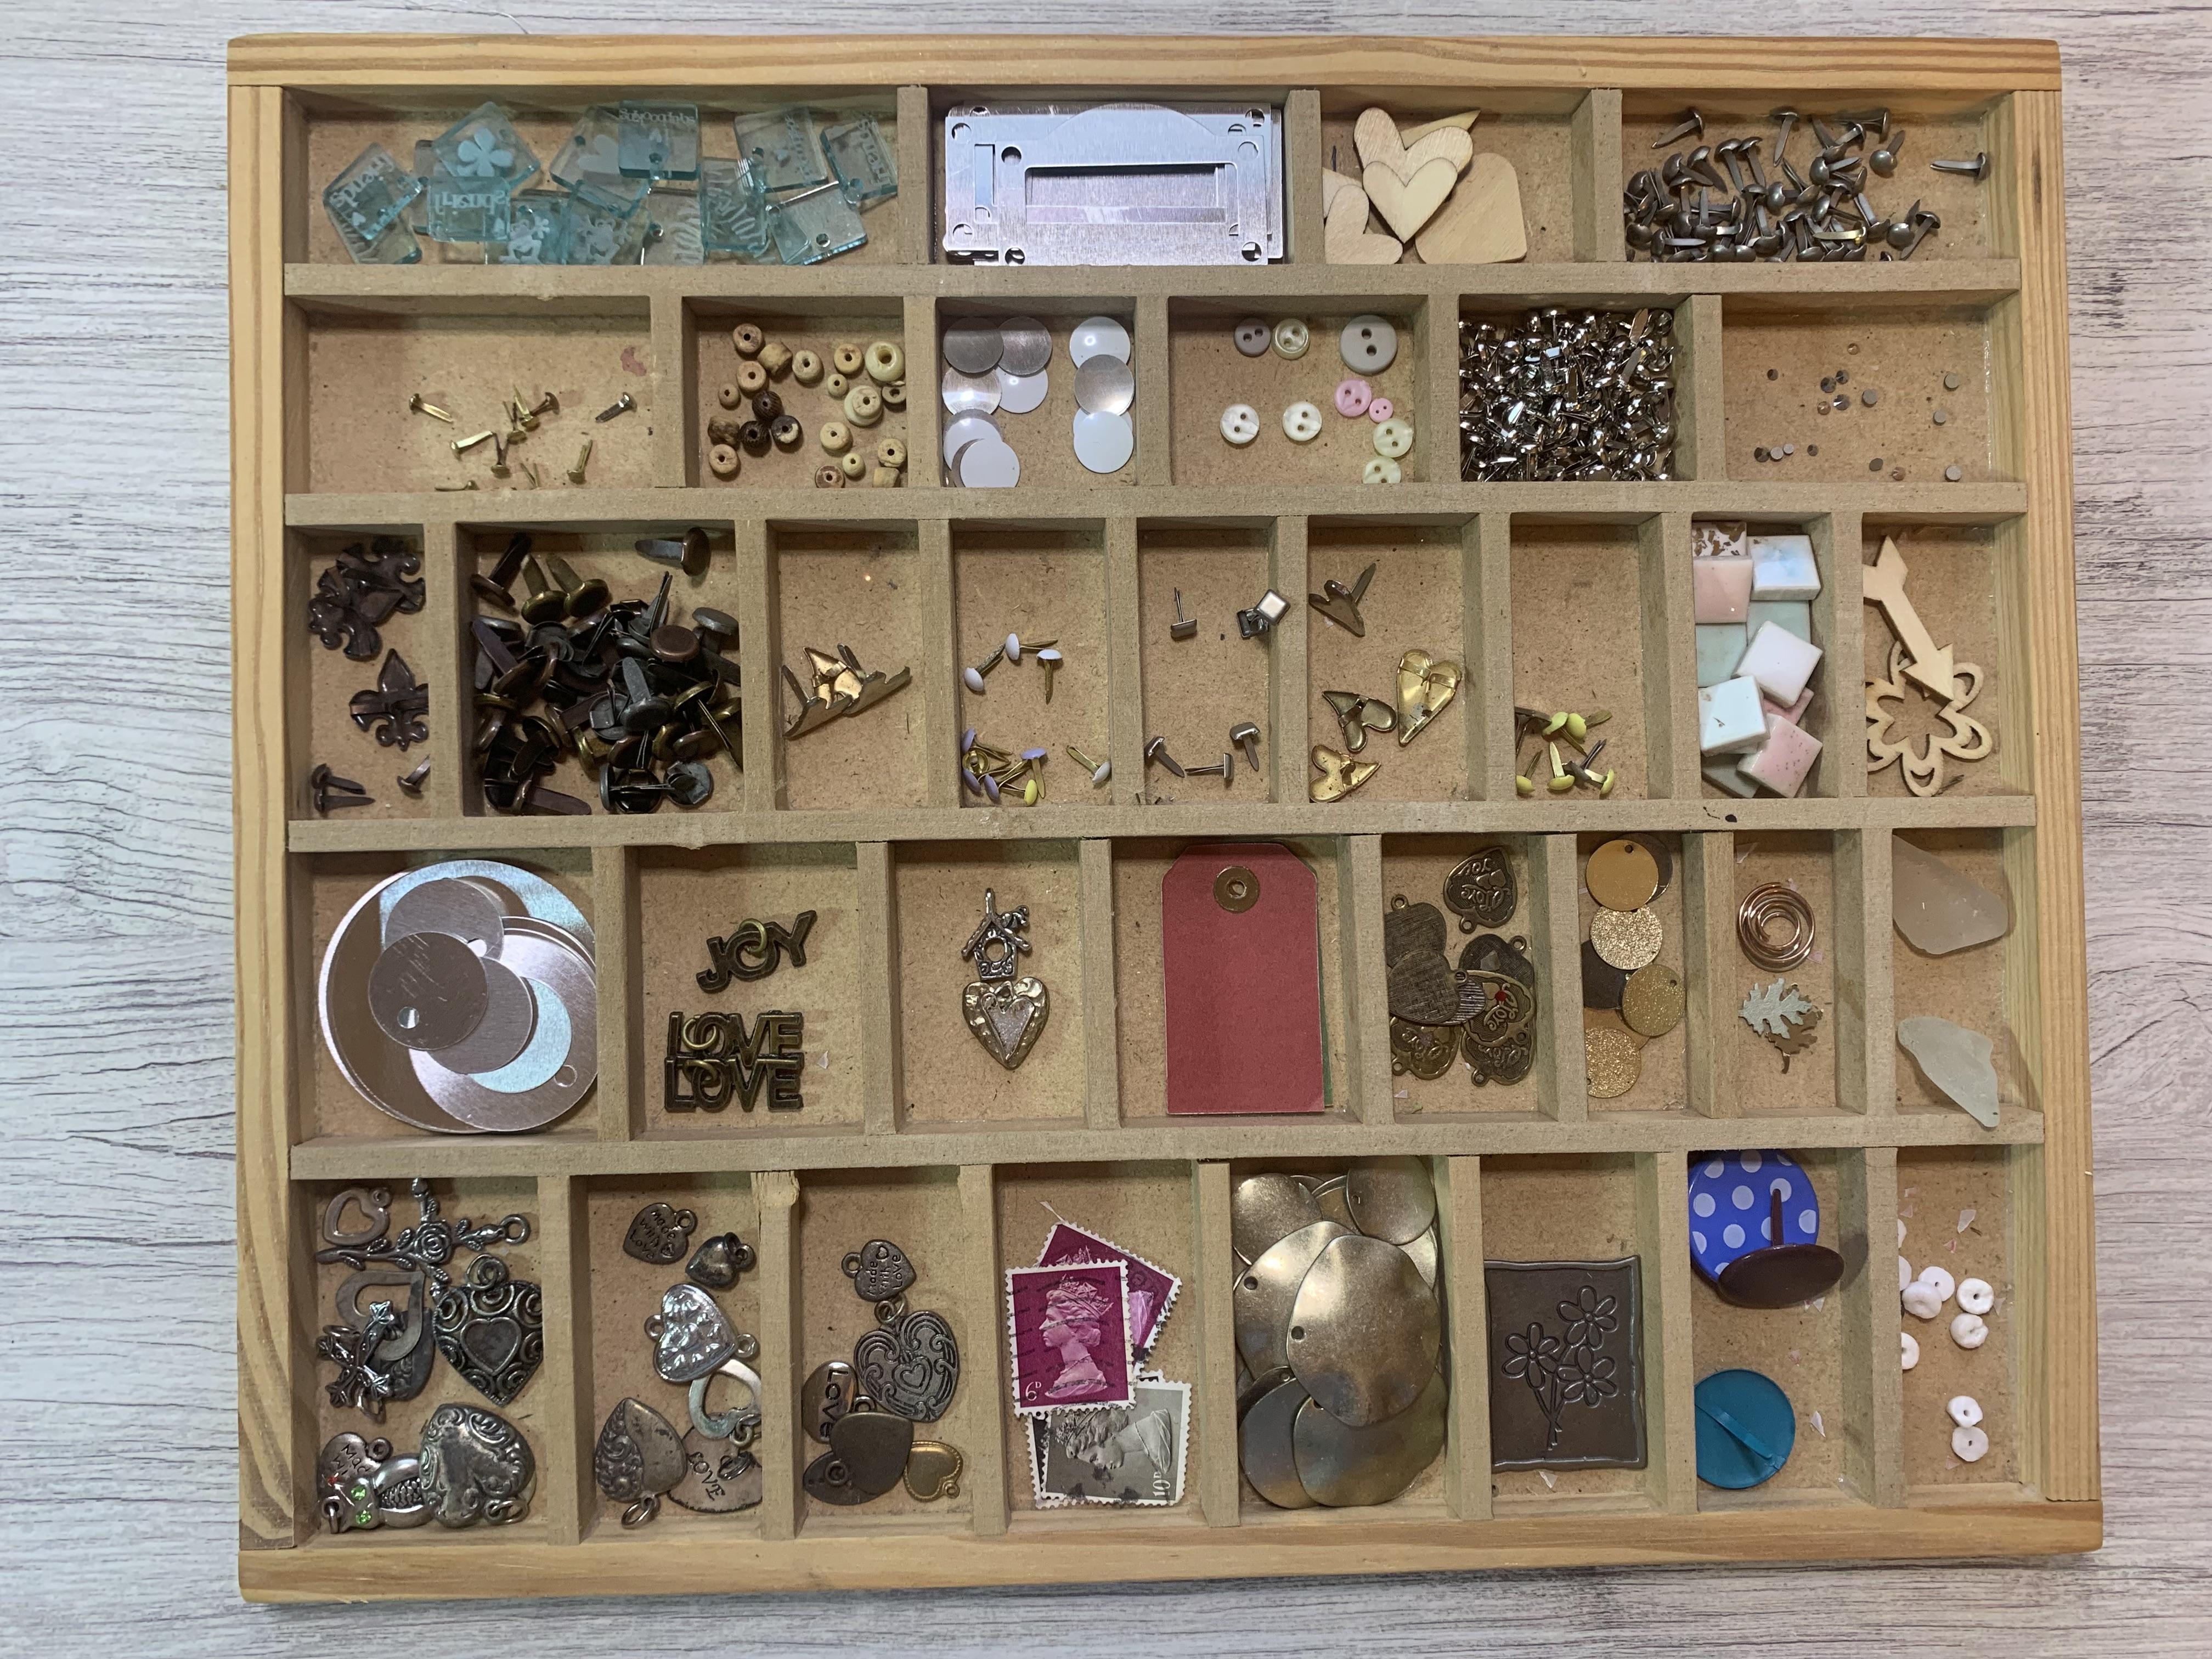
While there are many materials you can use to create these cards including cardstock and scrapbook paper, for the sake of simplicity I’m going to suggest starting with 4-5 index cards. Gather your materials you want to use to embellish your card, including a good pen. These items will be your tools to bring your creative vision to life. I like using many different kinds of materials such as tin foil, leather scraps, tiny beads (old jewelry works great), yarn, buttons, etc. I have a large collection of things leftover from other projects that often come in handy. Think outside the box. Even the metallic wrapper from a piece of gum can make a shiny accent in a creative arrangement of materials.
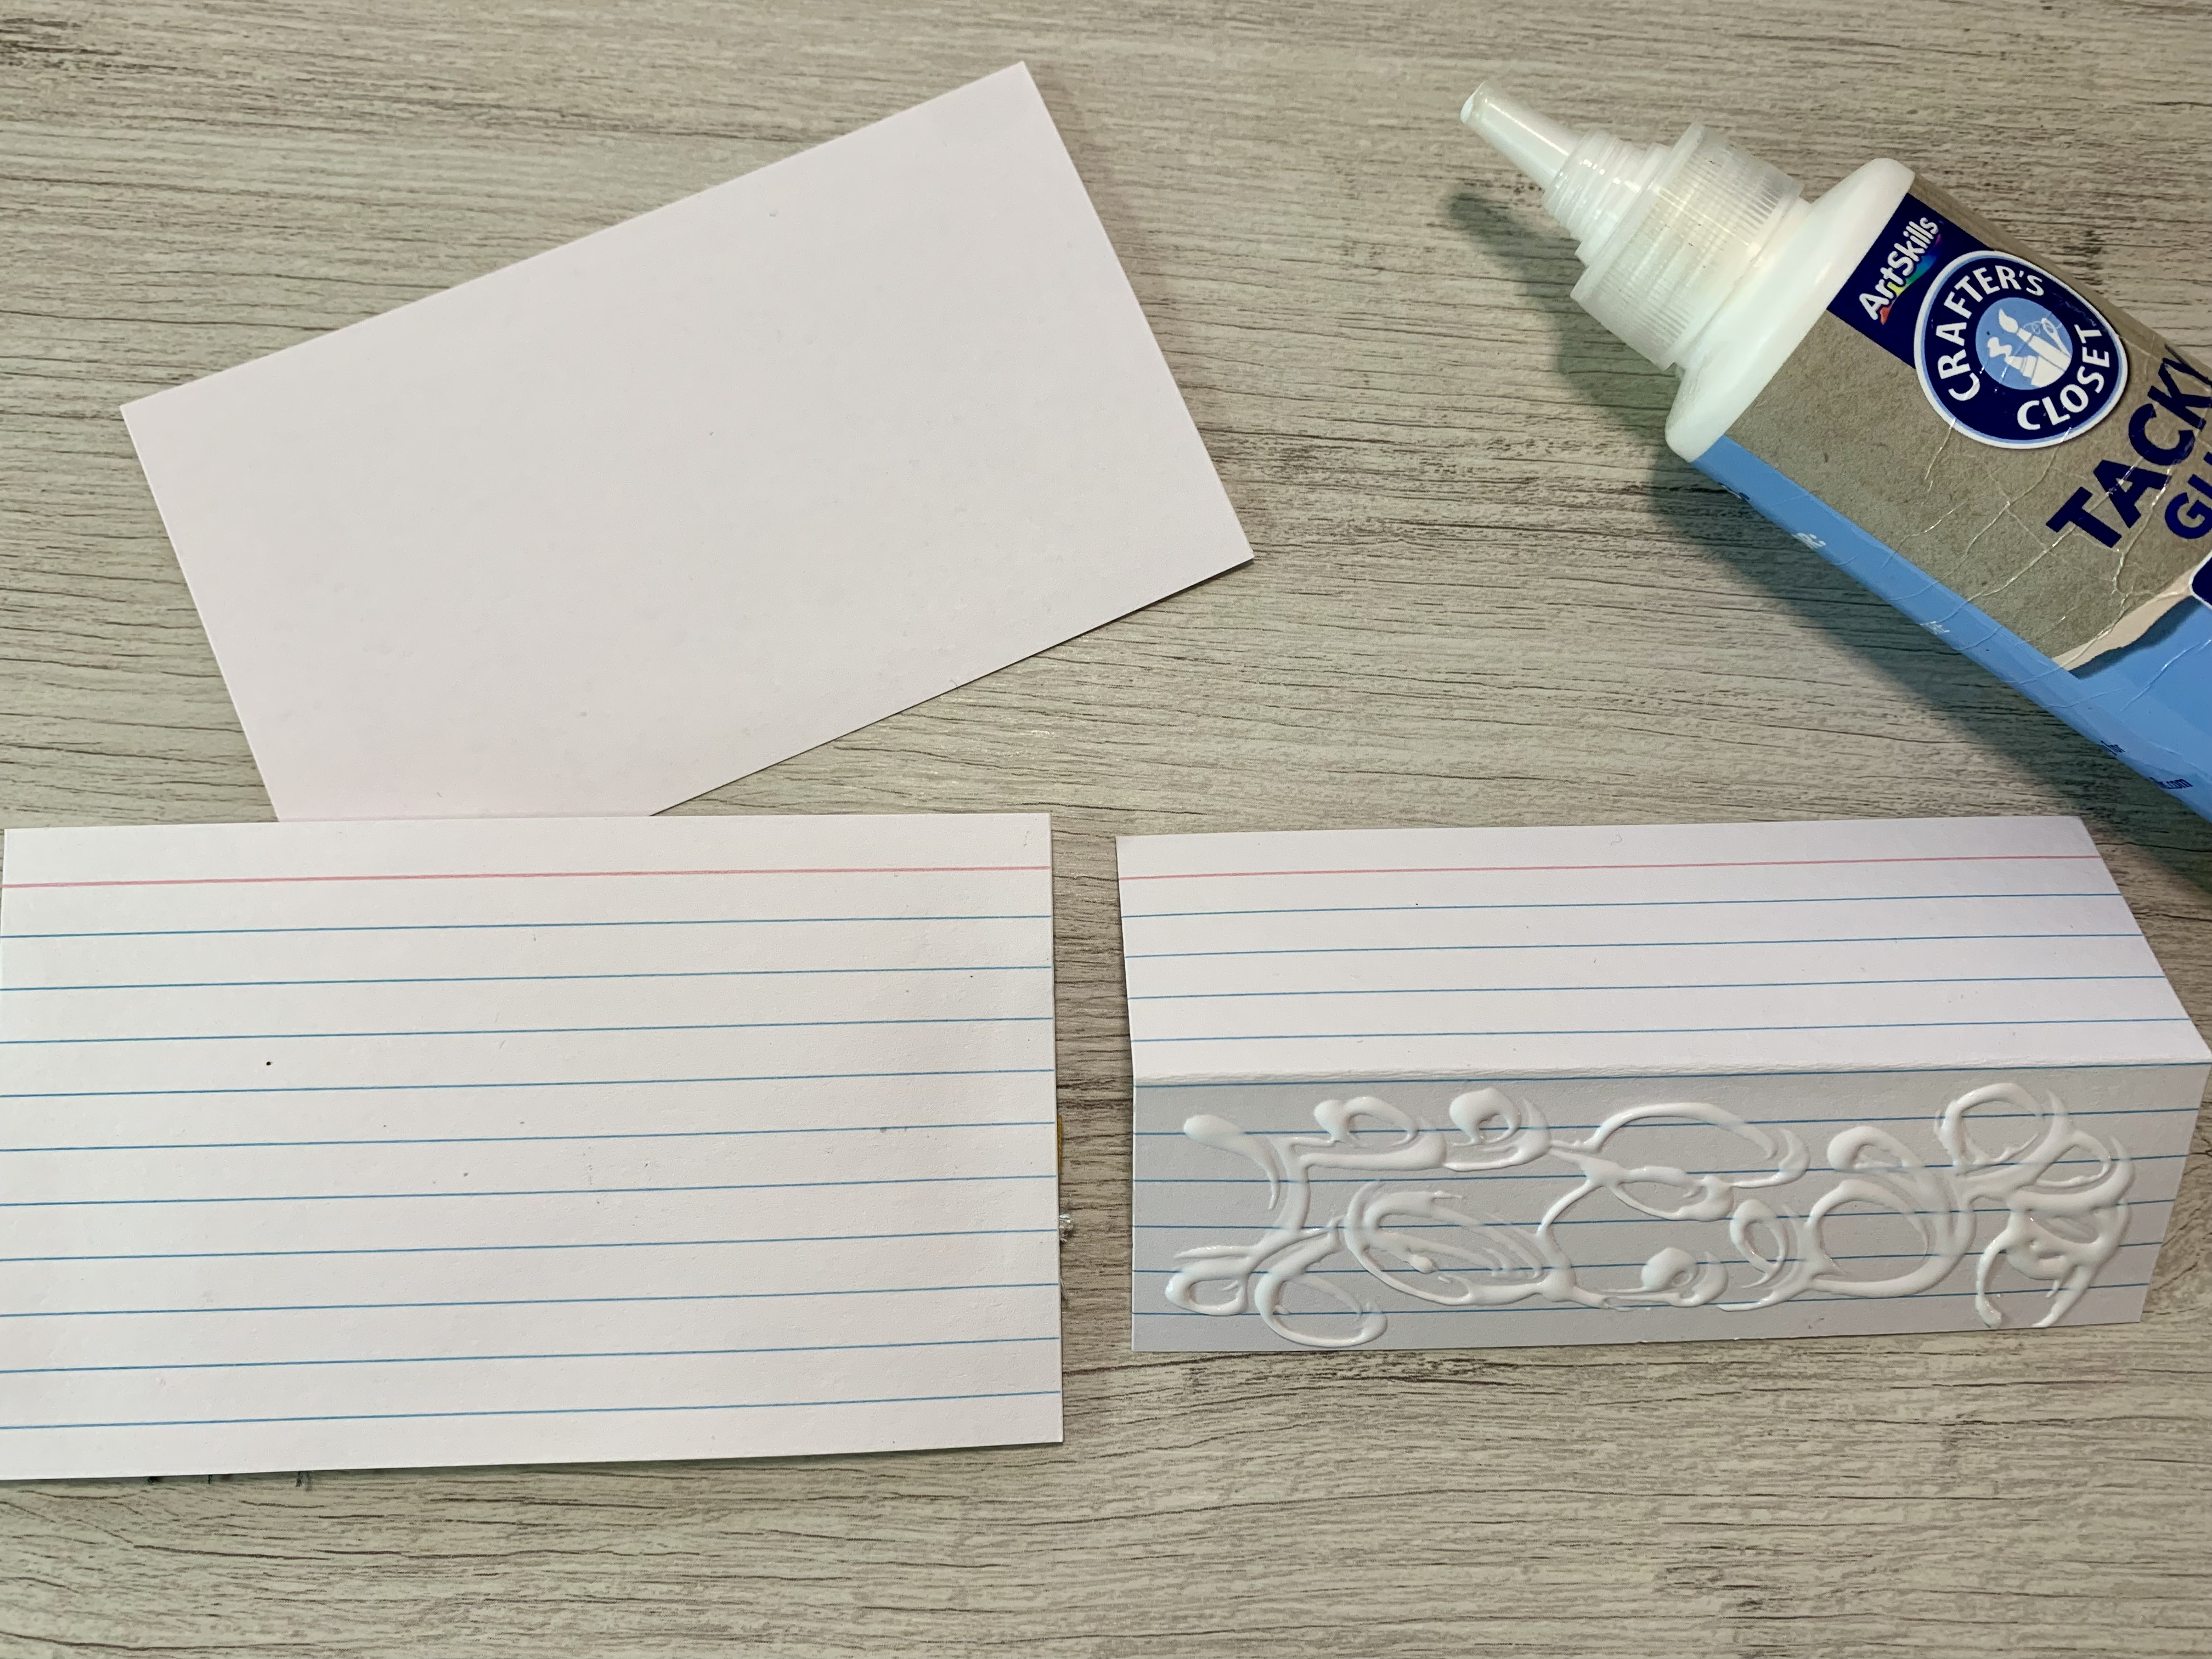
Step 2: Construct the pocket

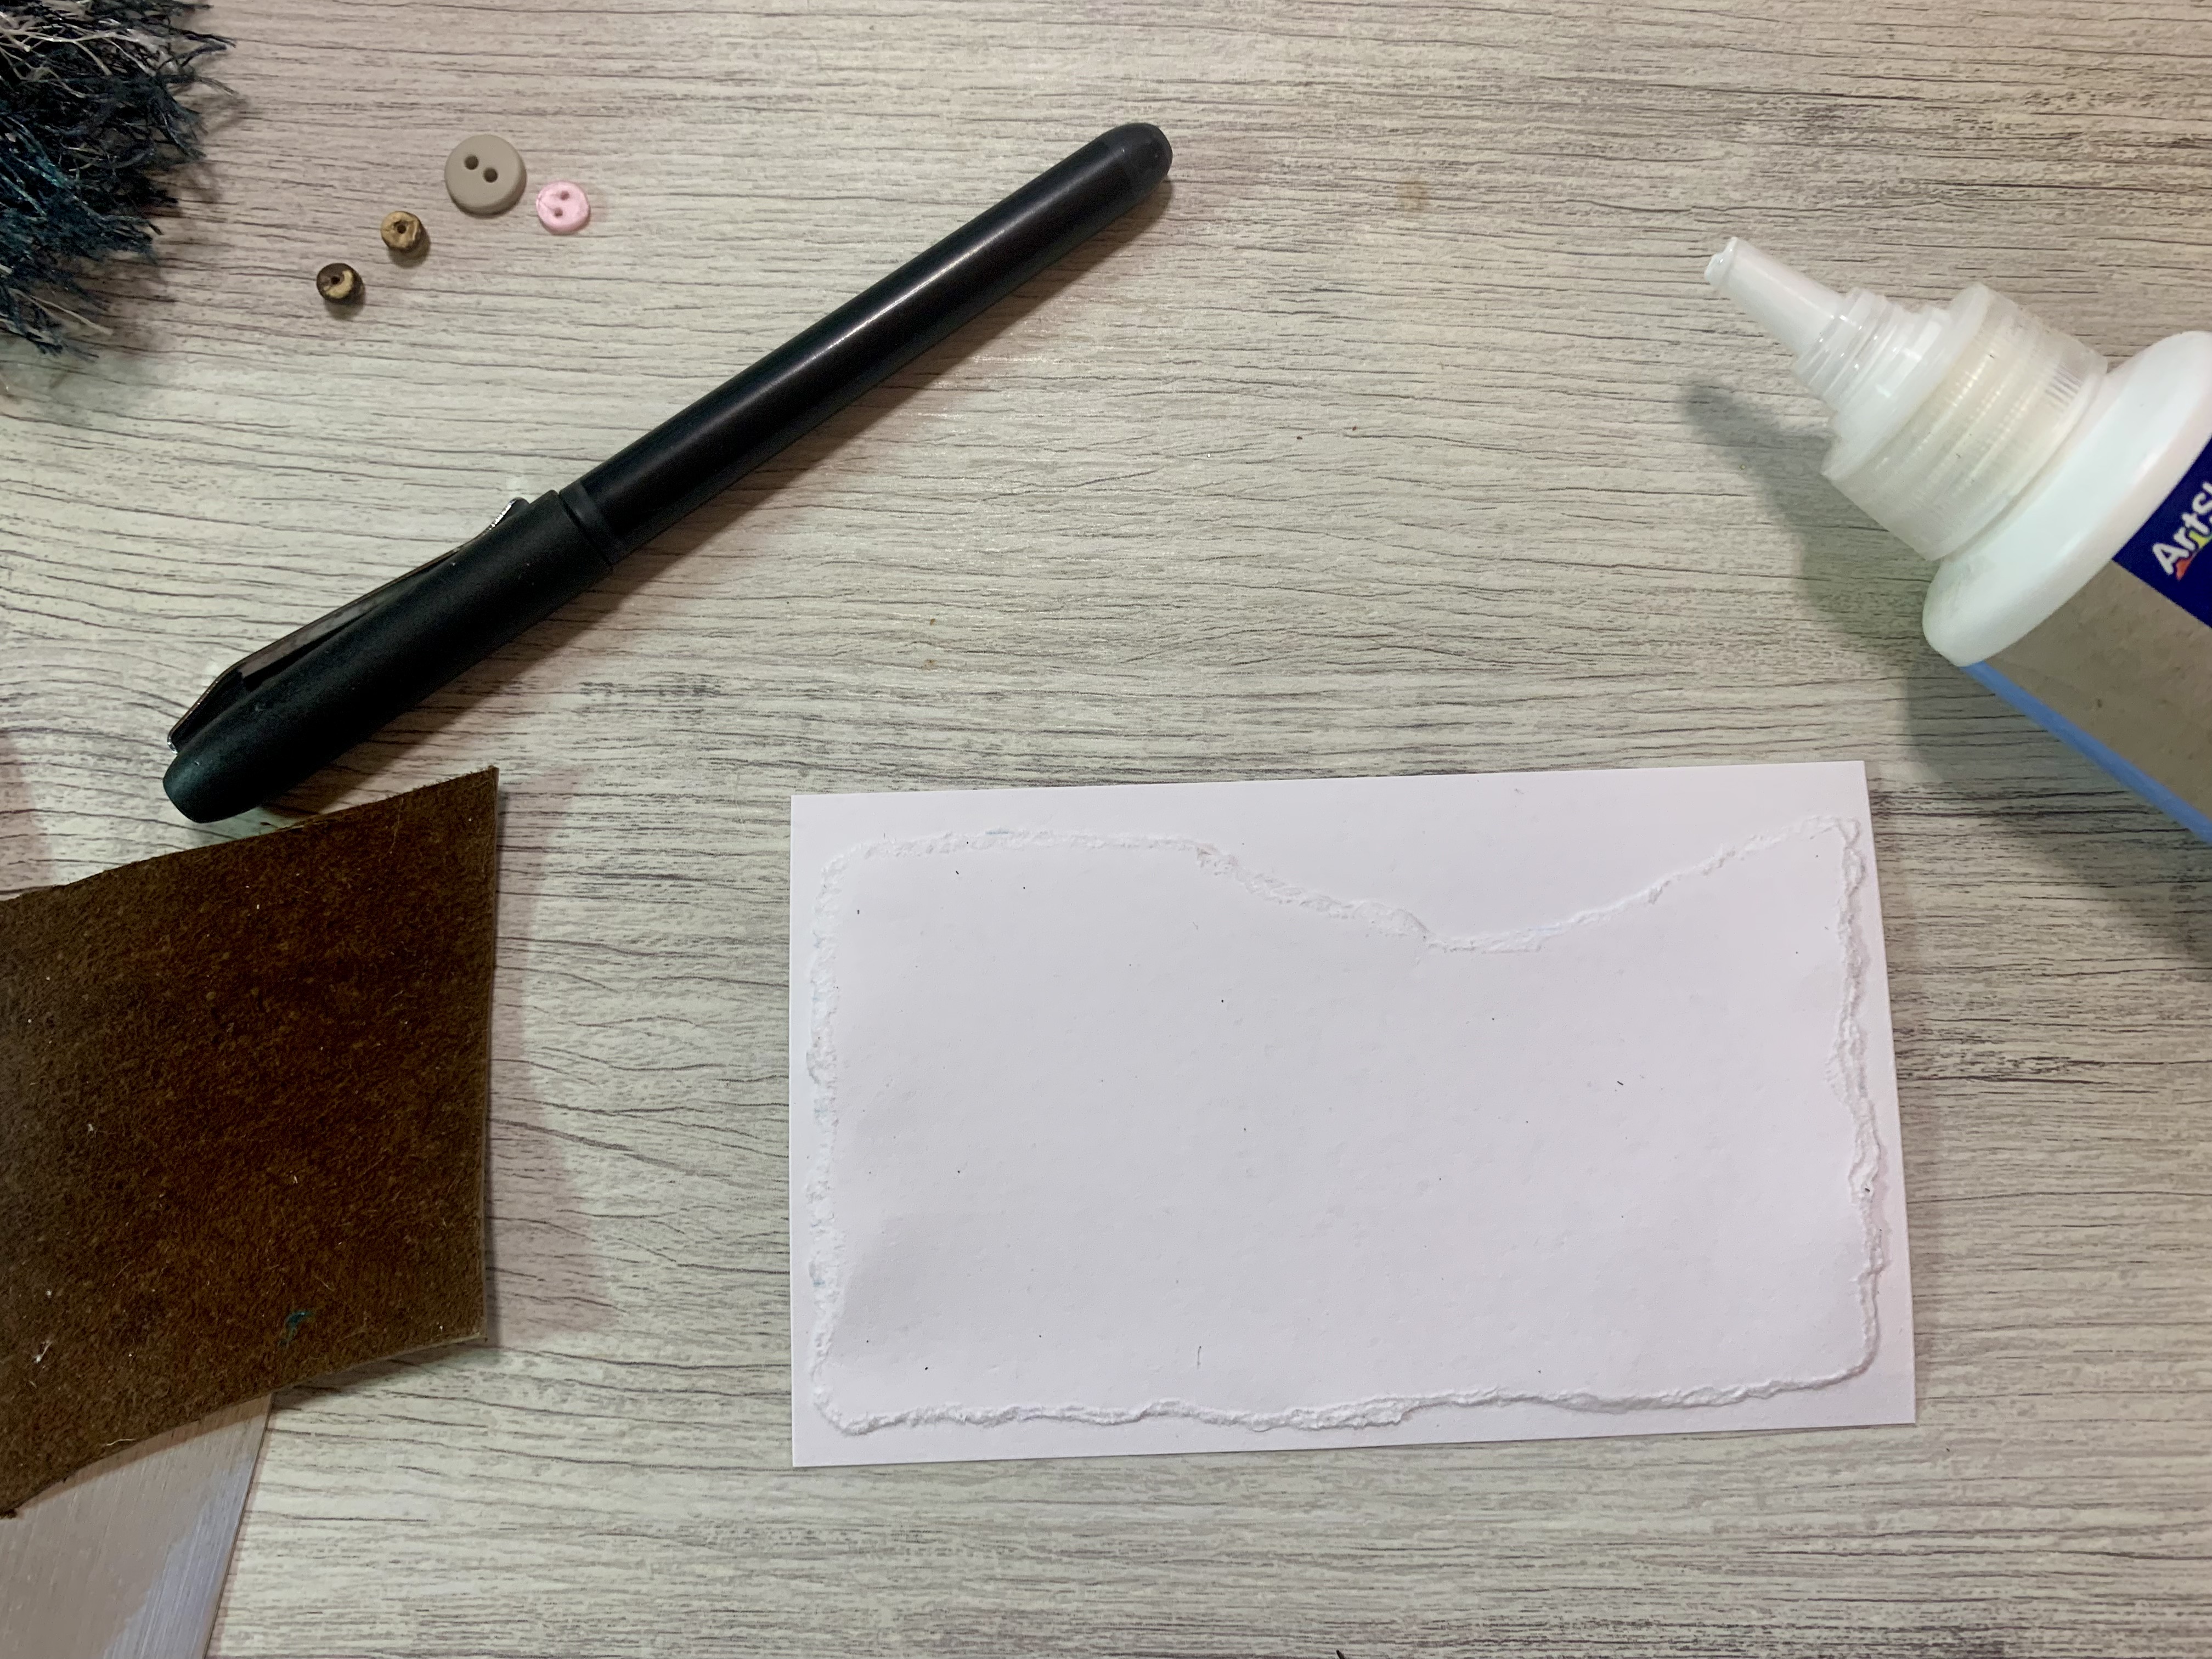
Start by taking one of the index cards and tear the edges in a clockwise manner in the shape shown in the illustration. If you tear it in a counter-clockwise motion, the paper will have a sharp edge instead of a textured edge like we want. Tear as close to the edge as you can because we want it close to the same size as the other one and make a small dip on the top right side as indicated to allow your note to be slightly exposed and easily removed. After you’ve torn the front piece, glue it to the back piece on three sides, leaving the top side open to create a pocket. *NOTE: If you are using lined index cards, make sure the lines are on the back so they won’t show. We’ll cover the backside later.
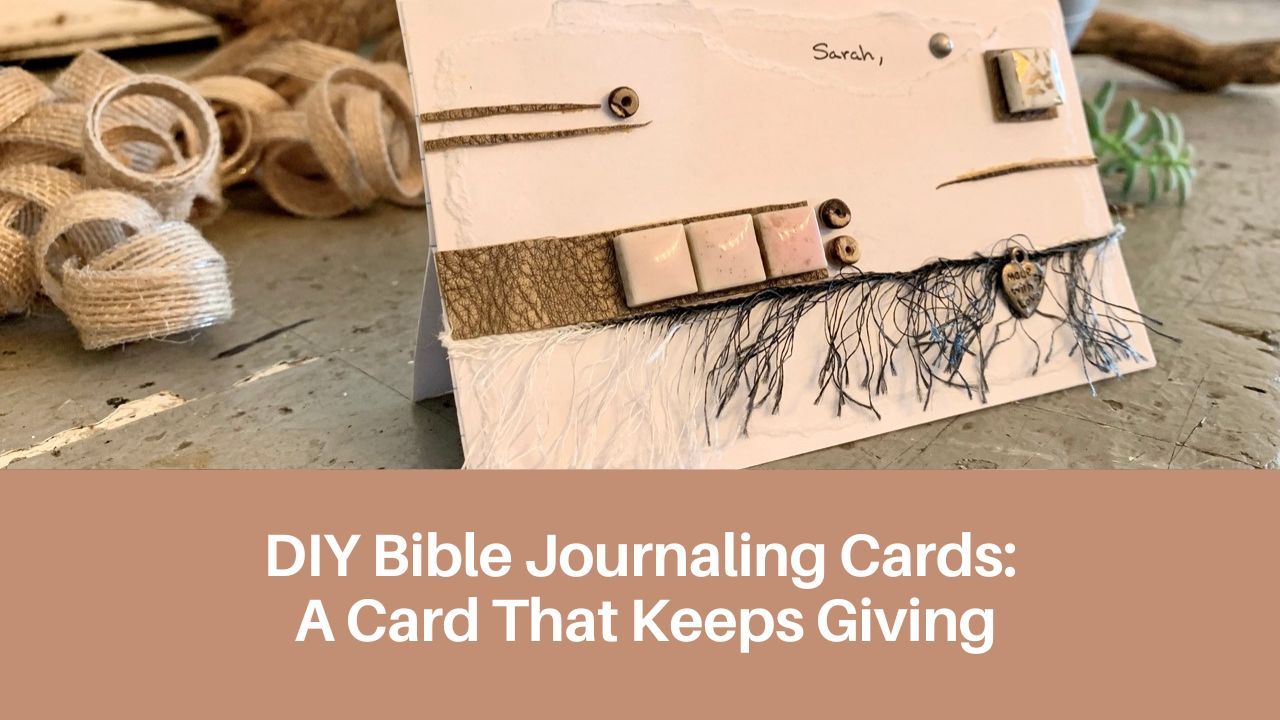
Step 3: Decorate with Love
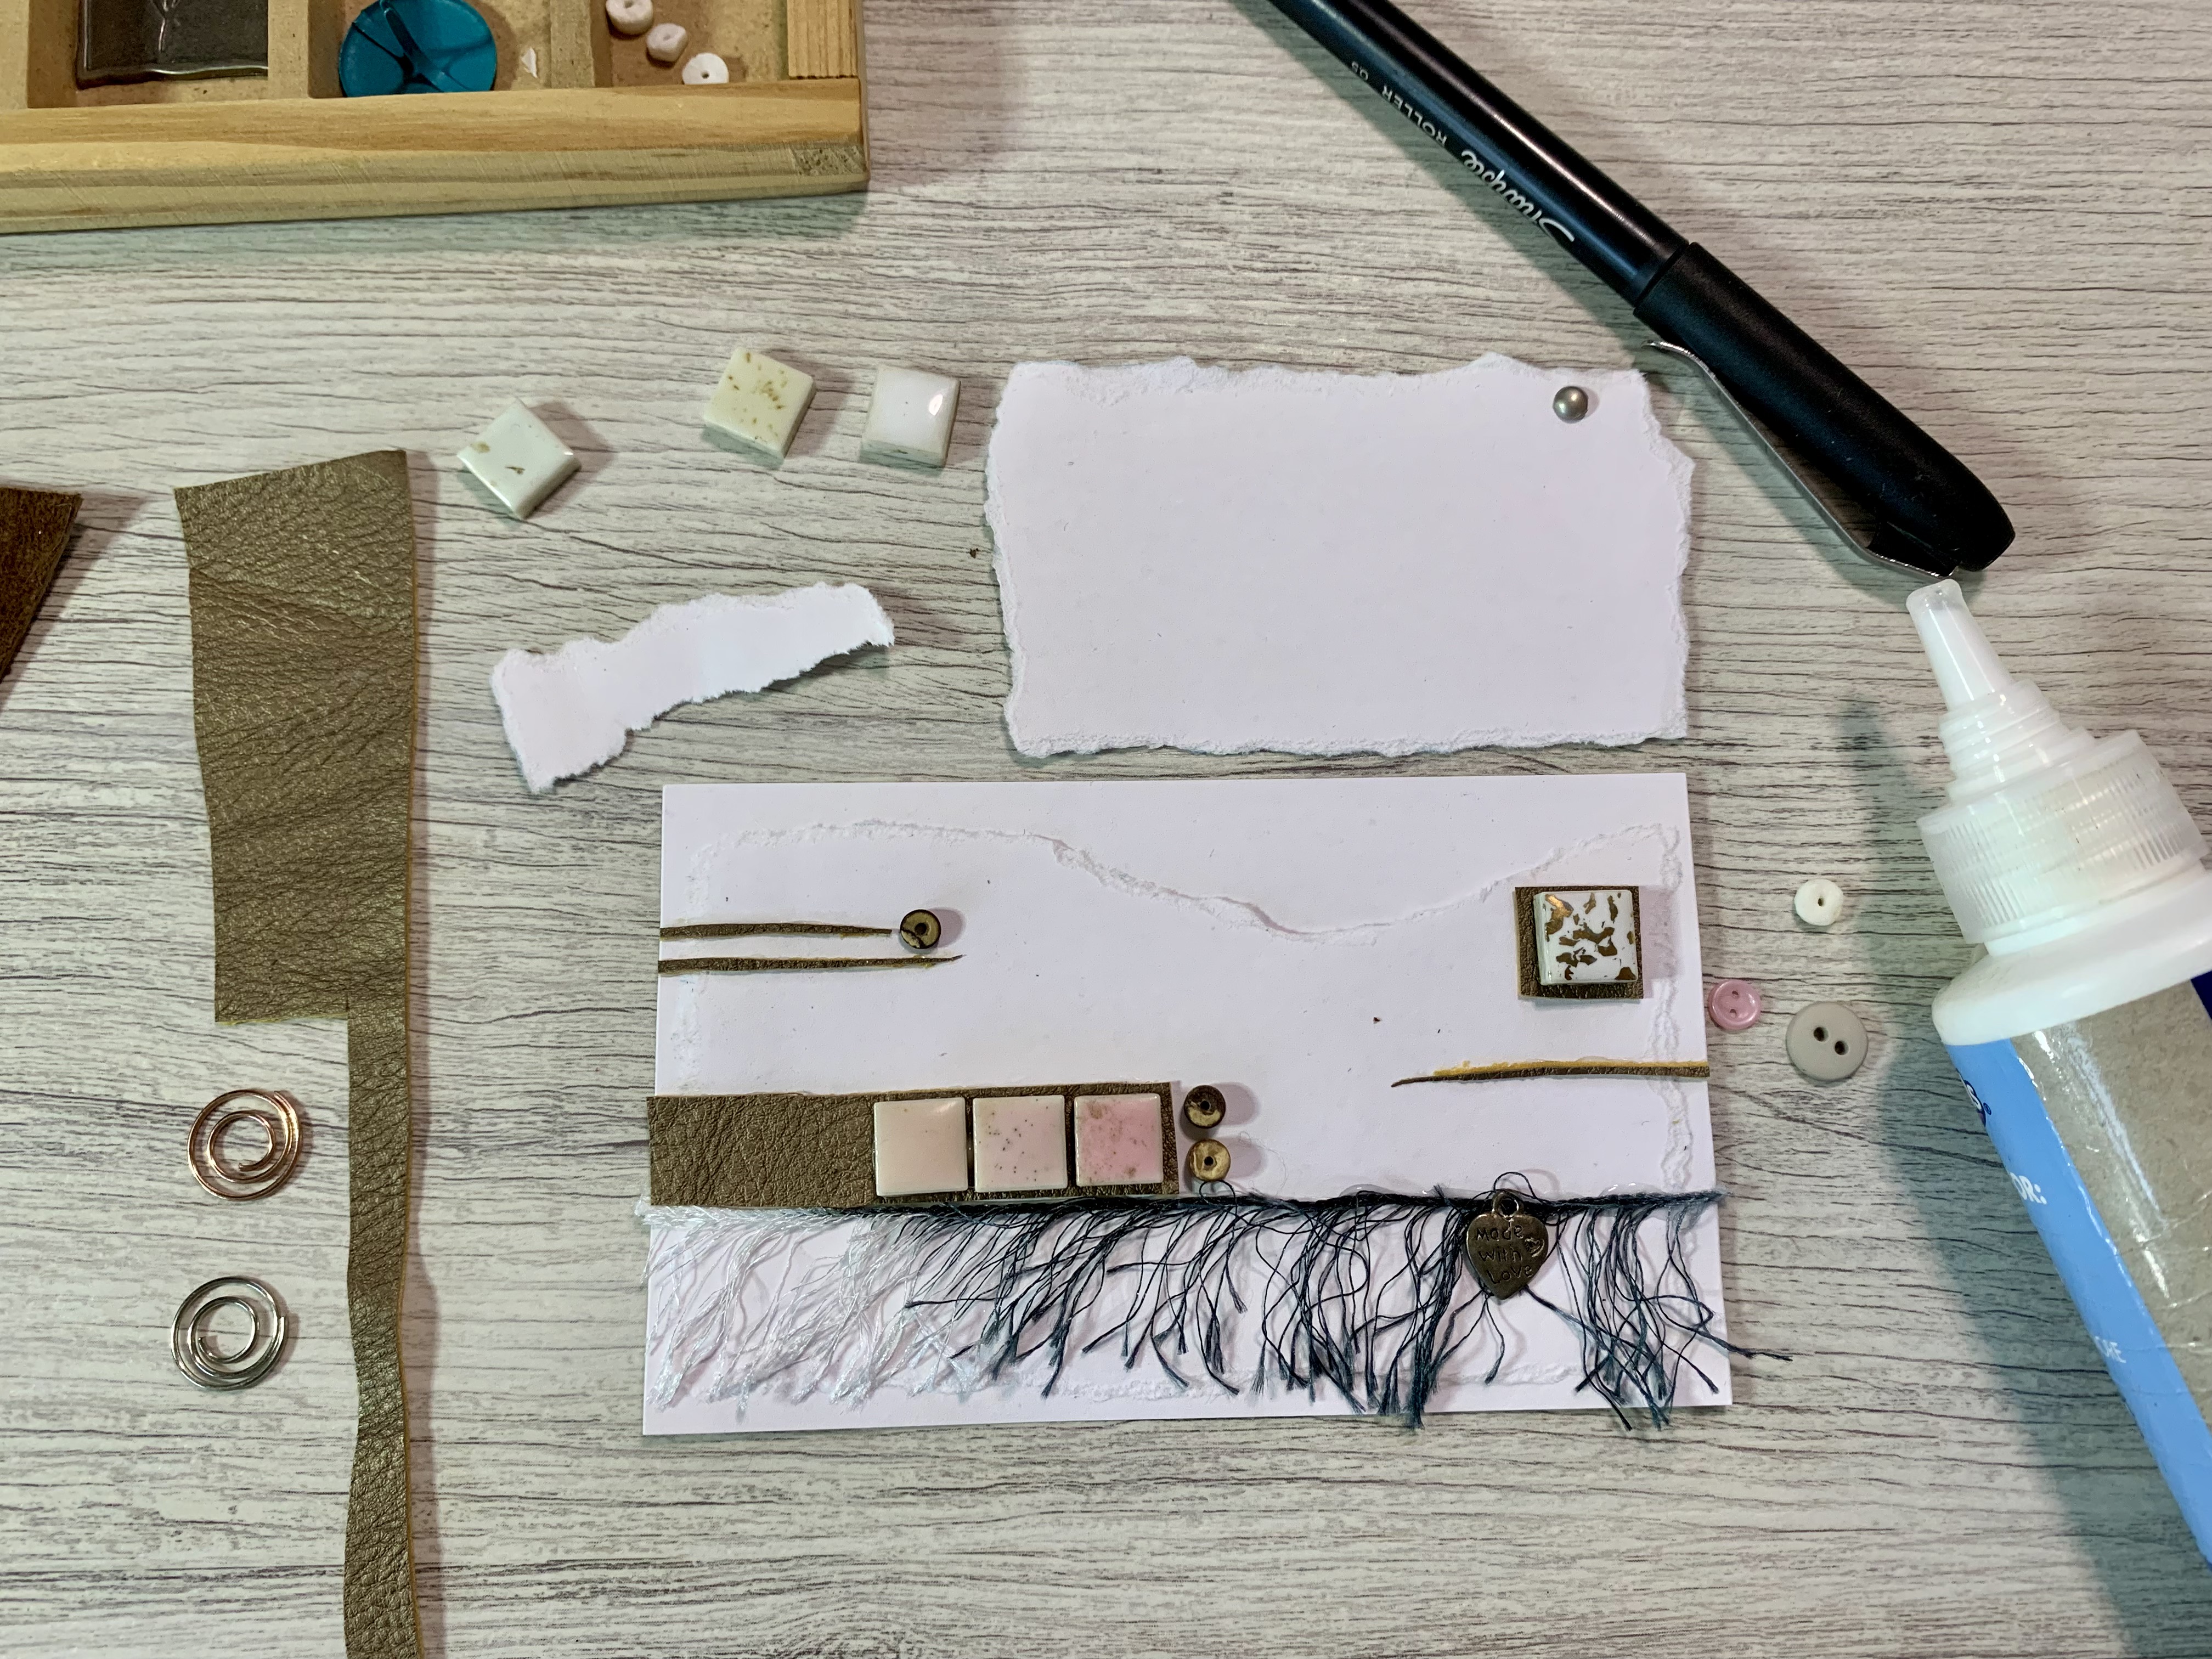
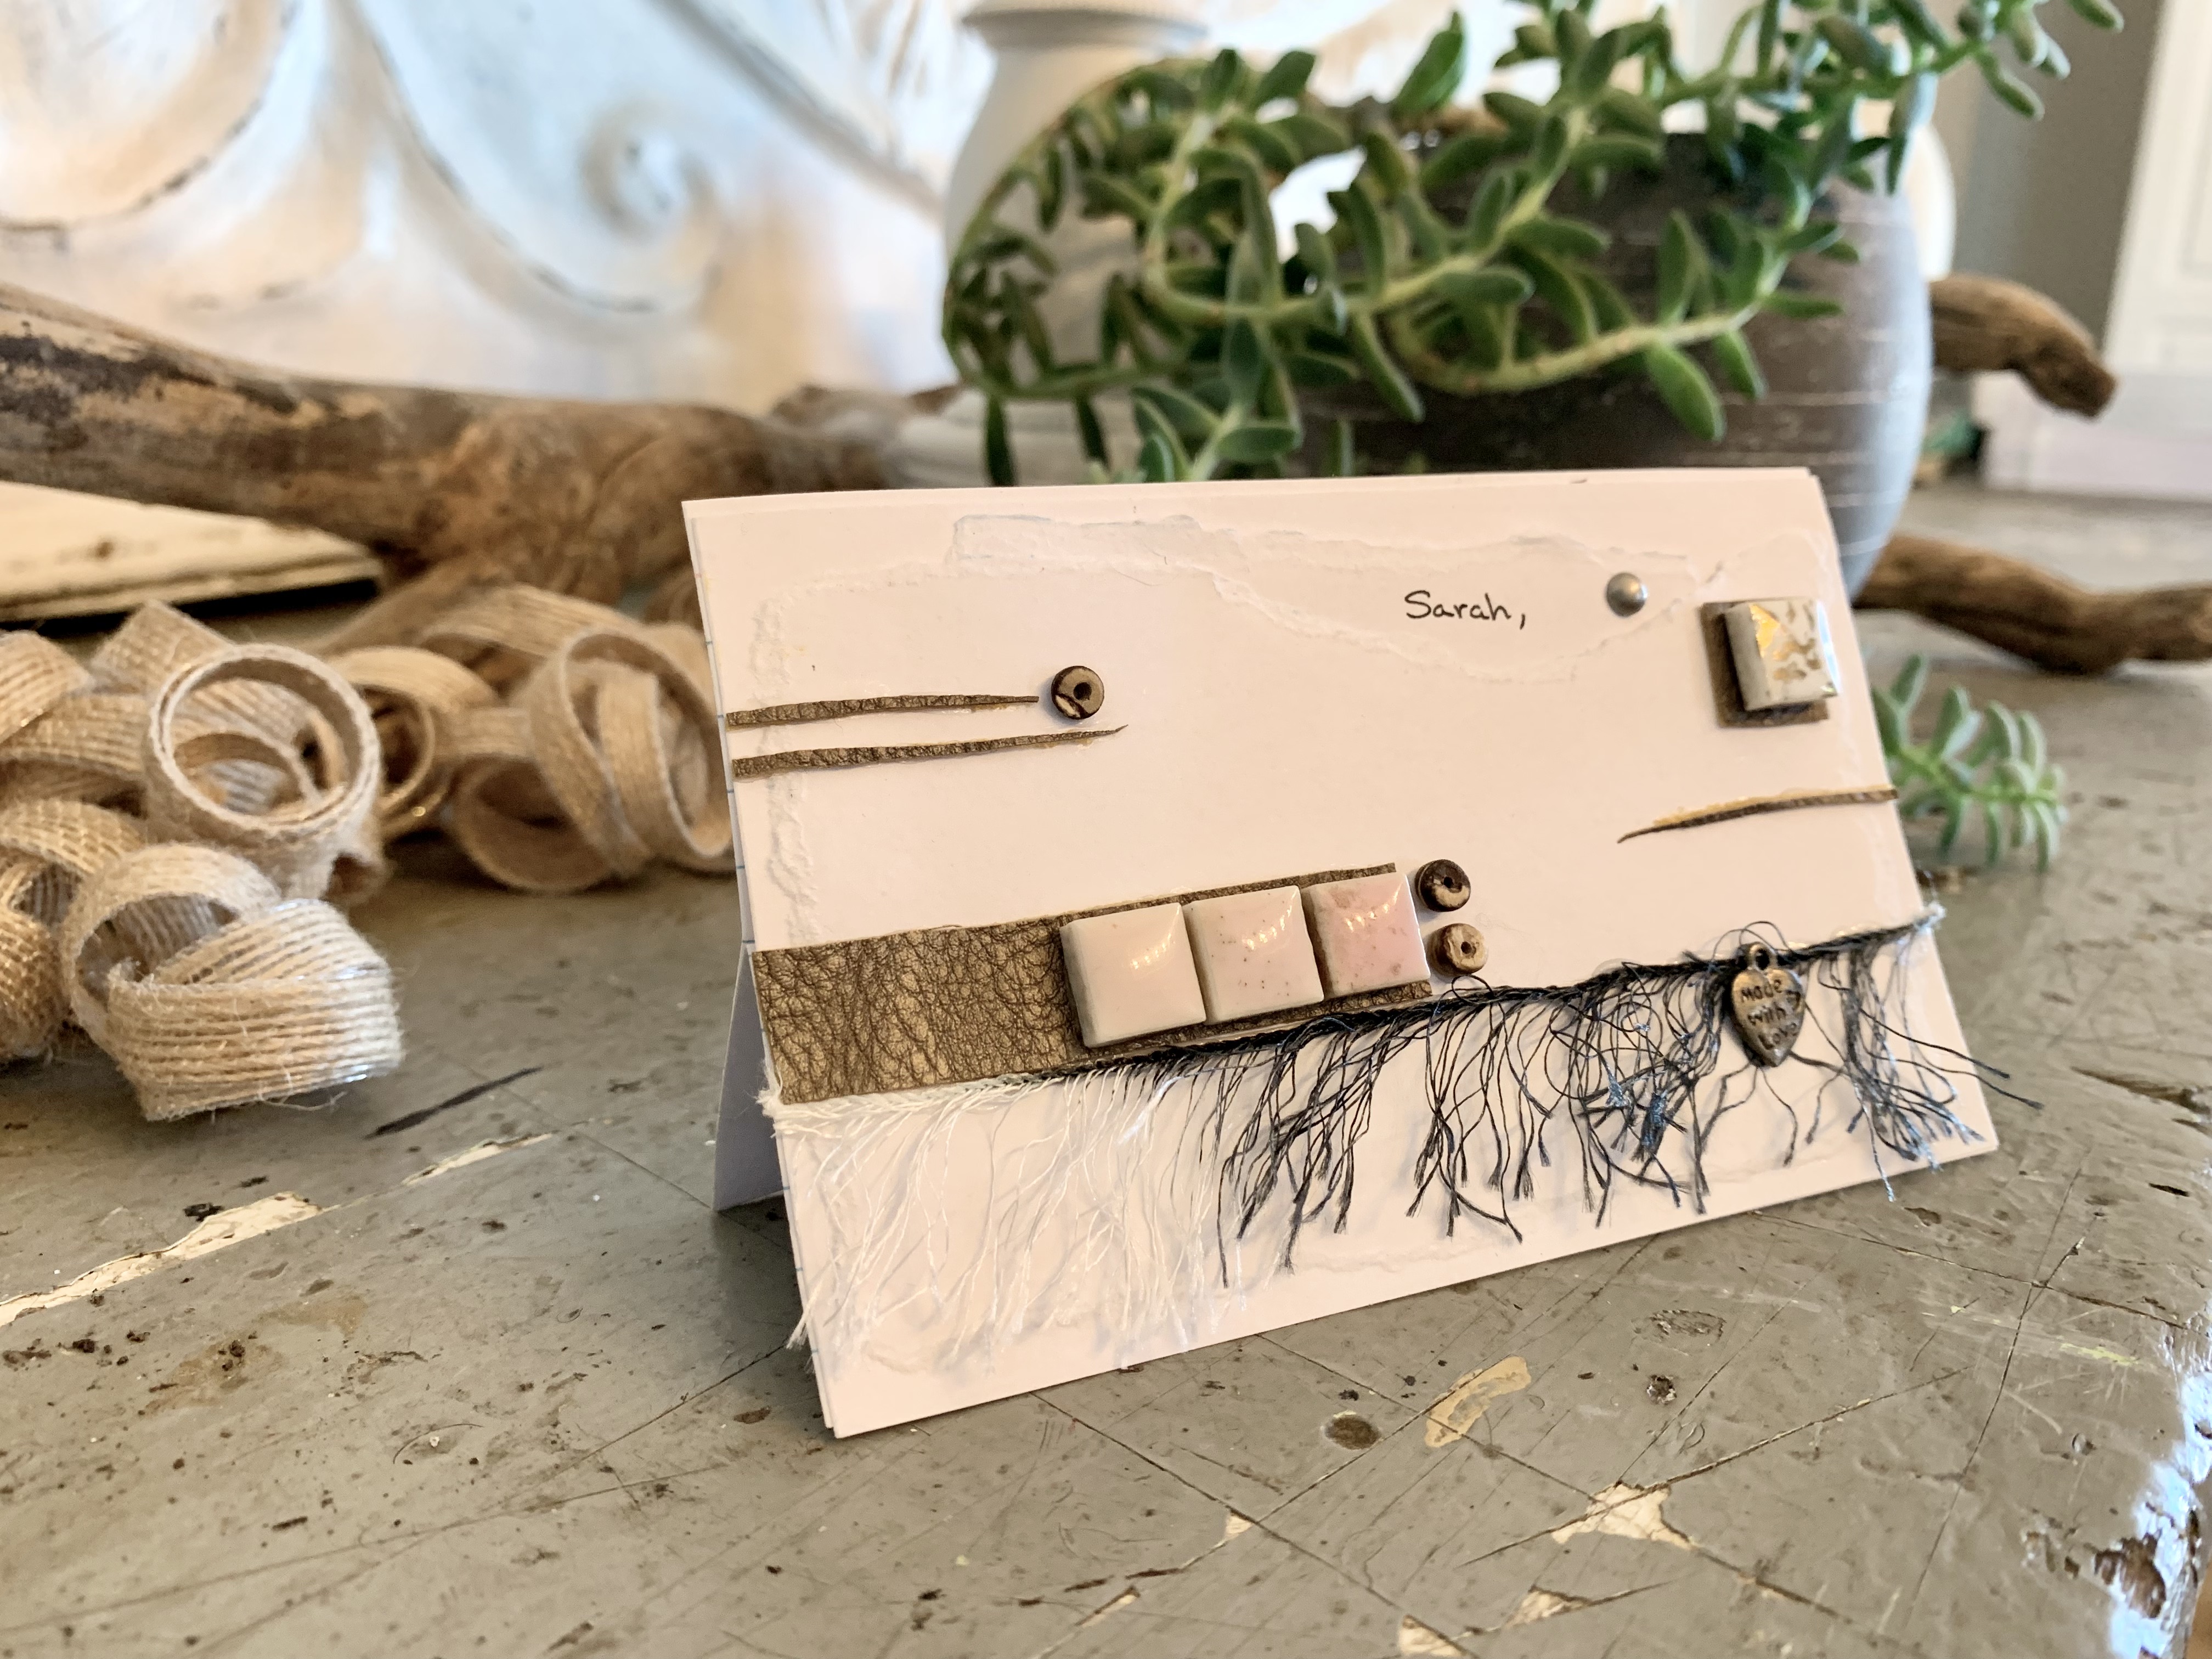
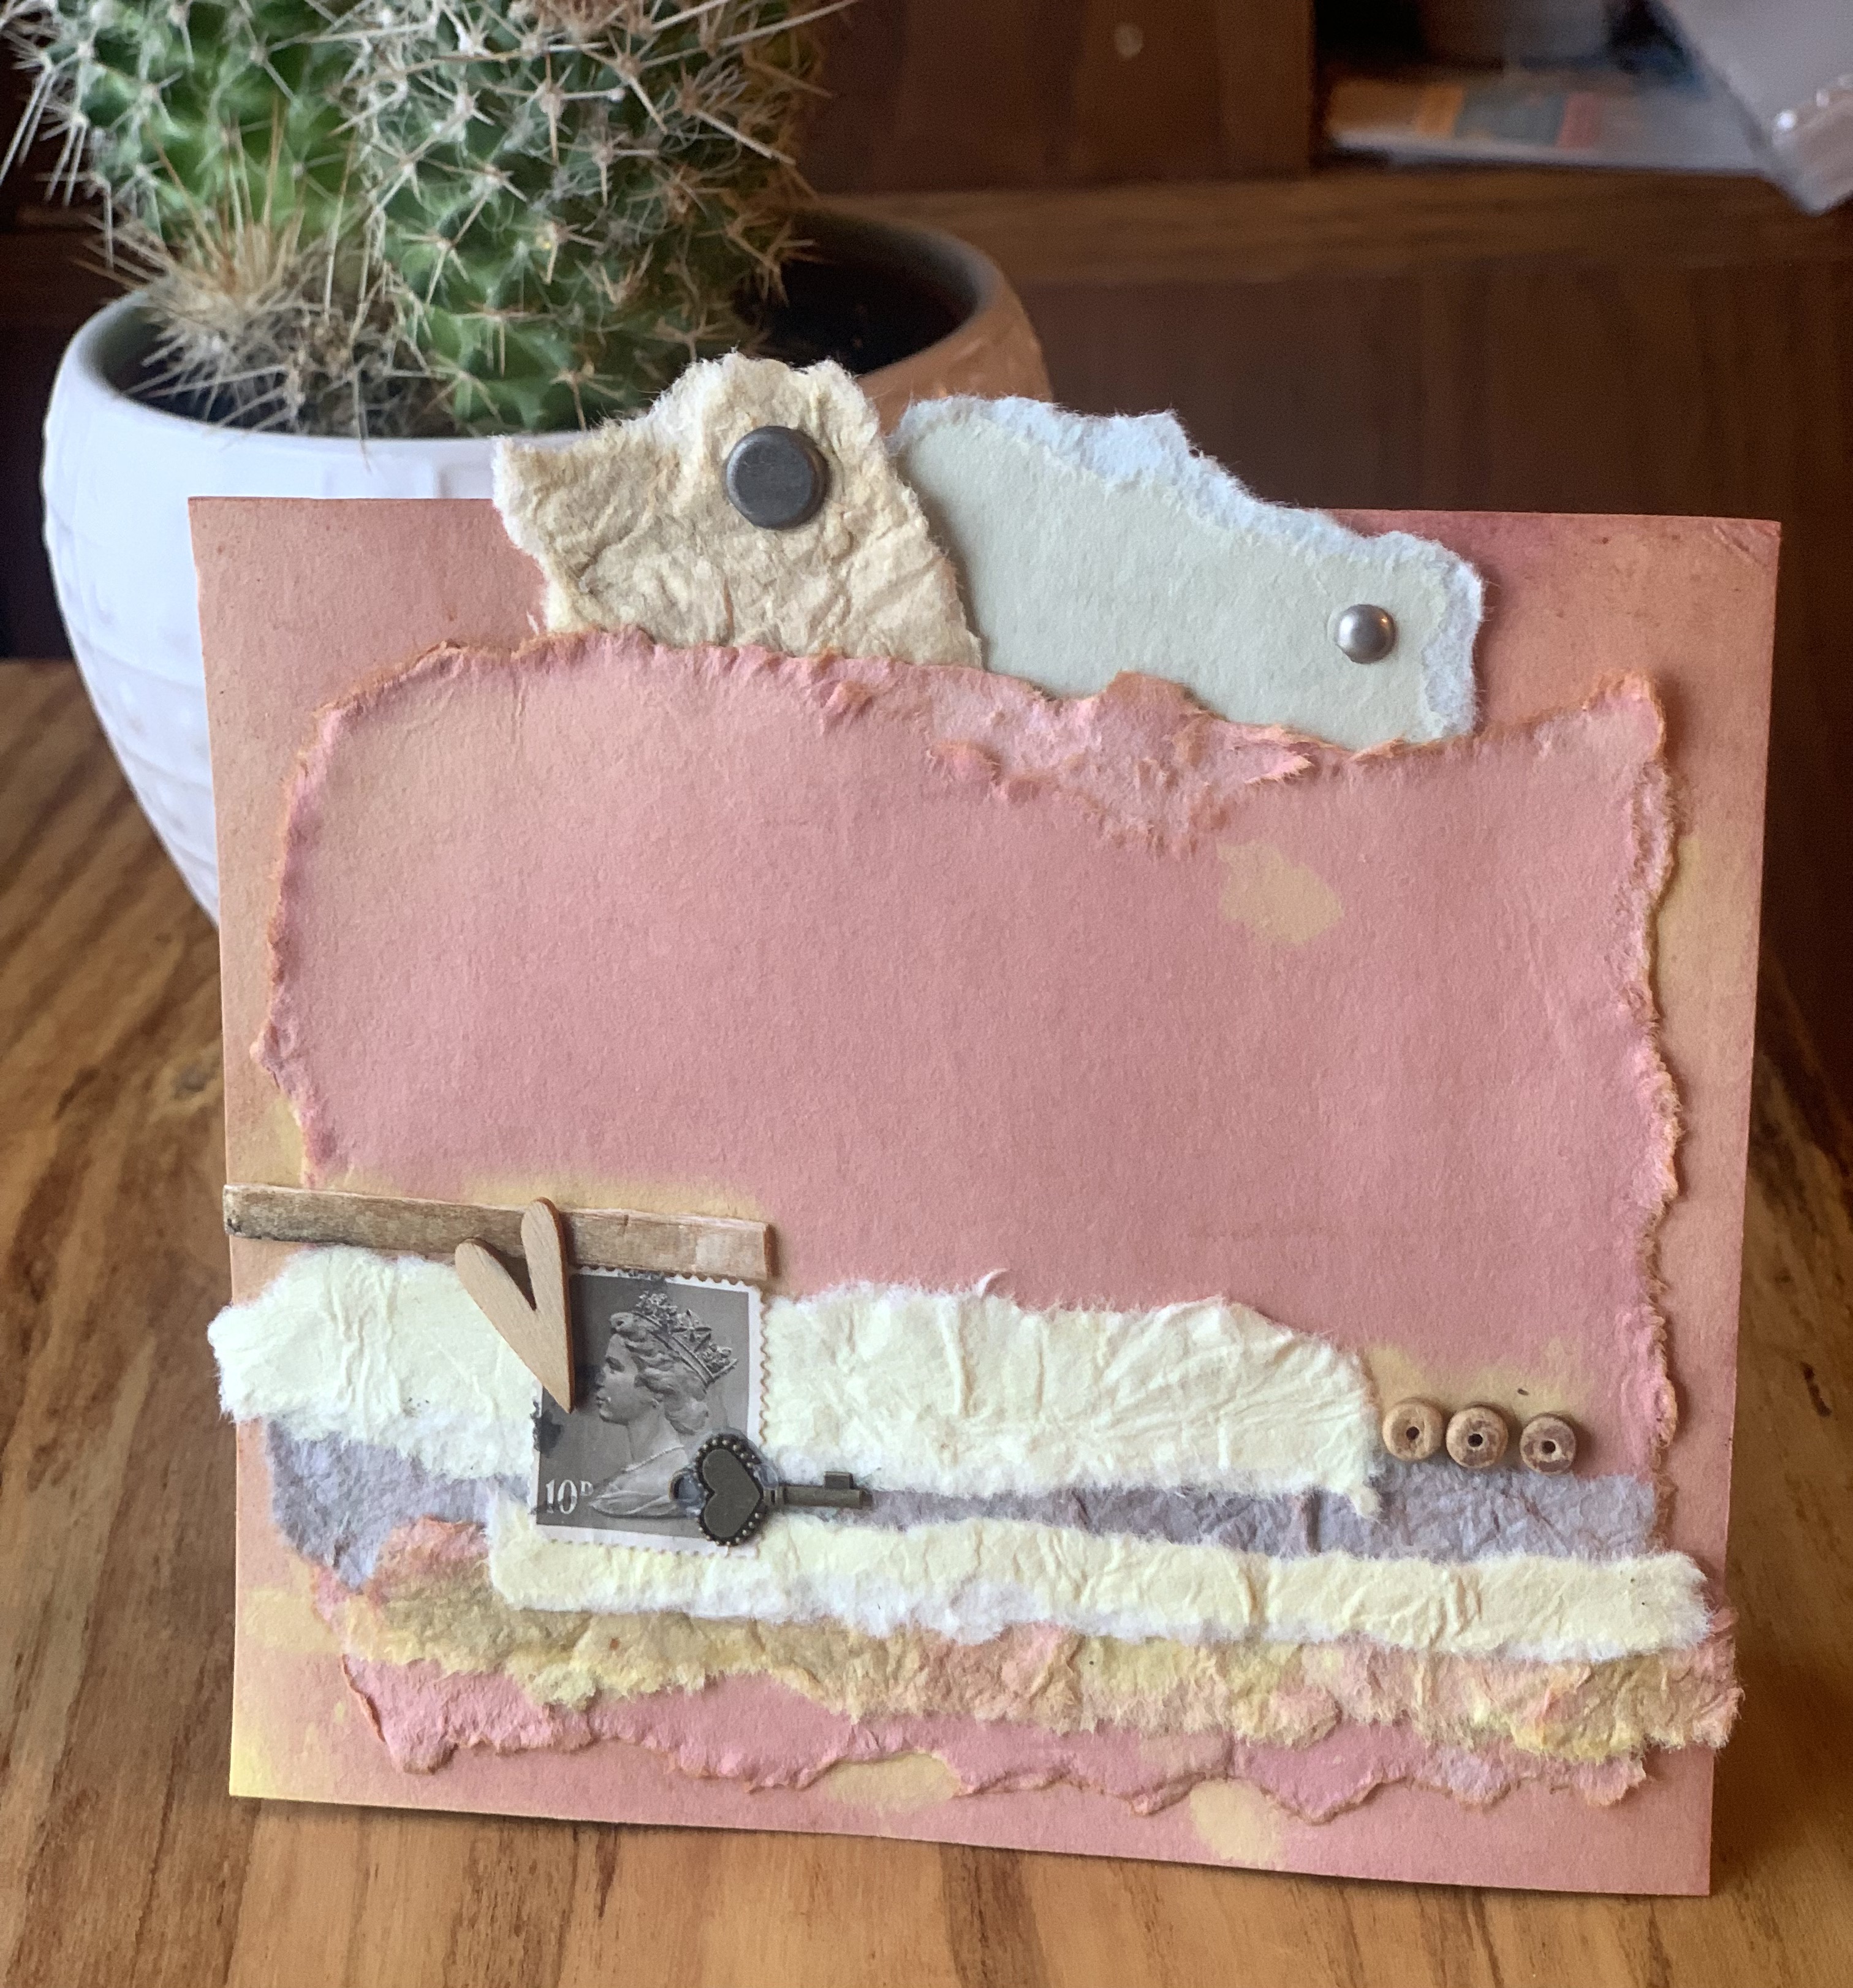
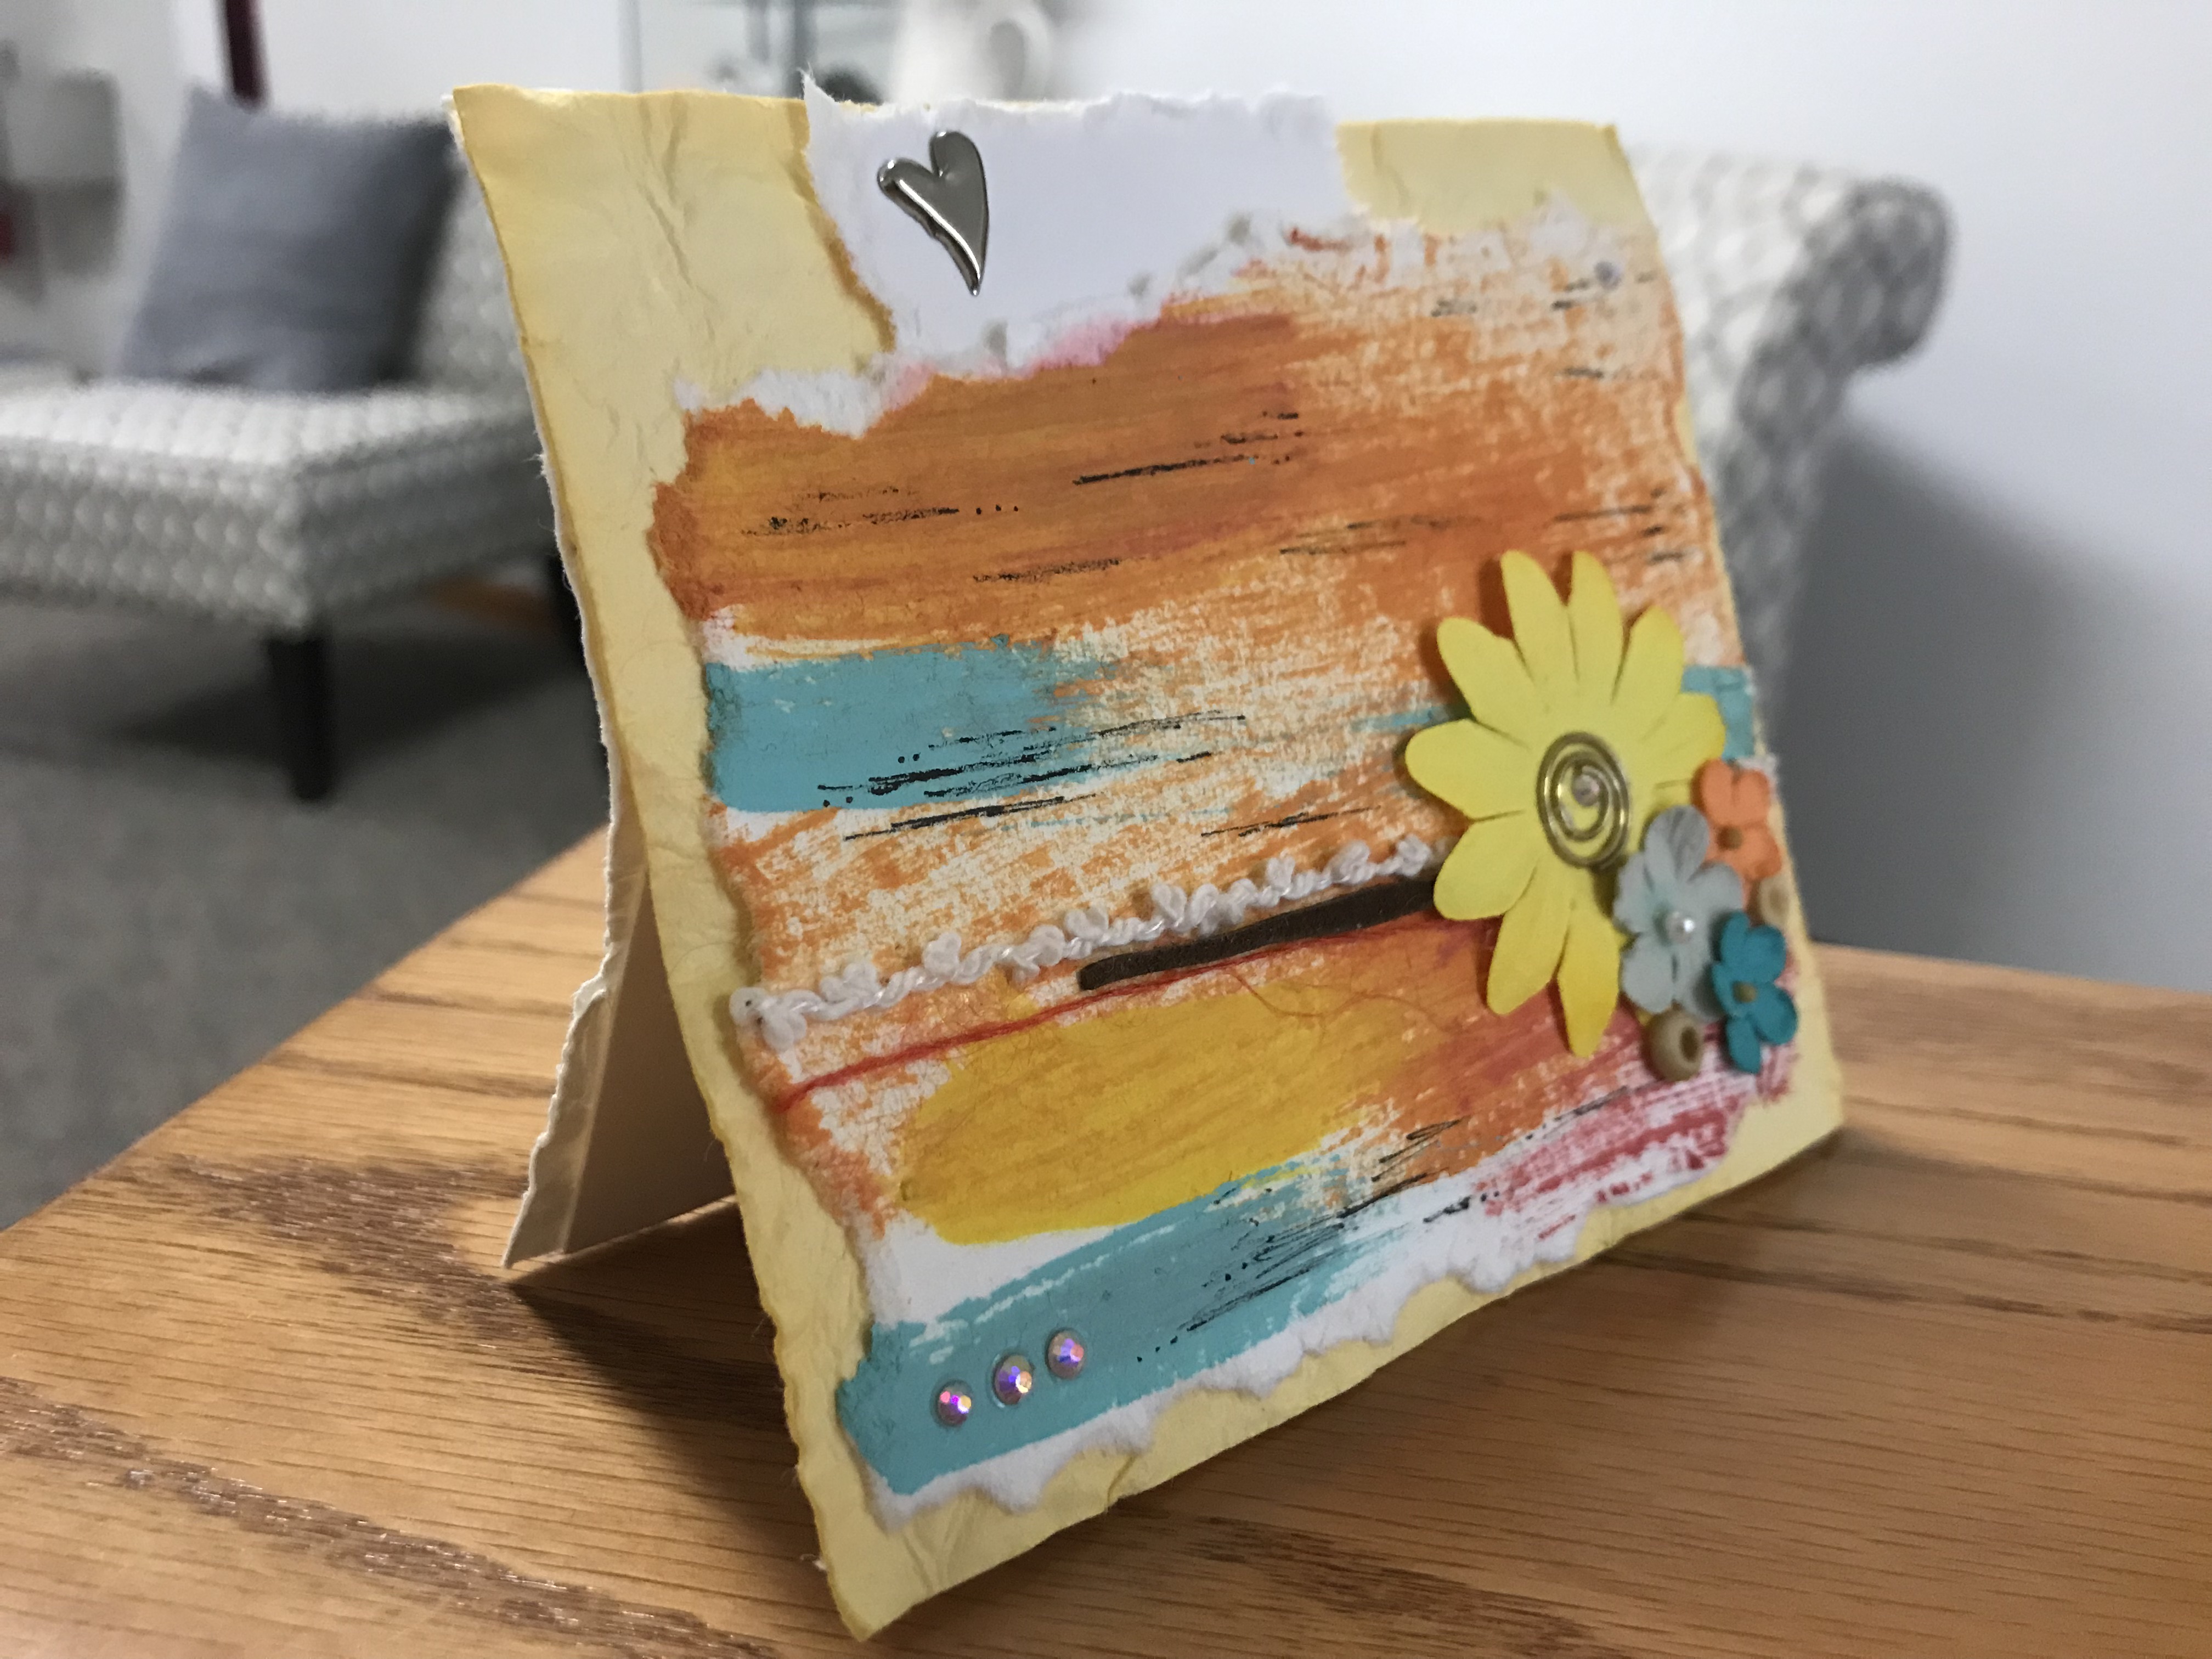
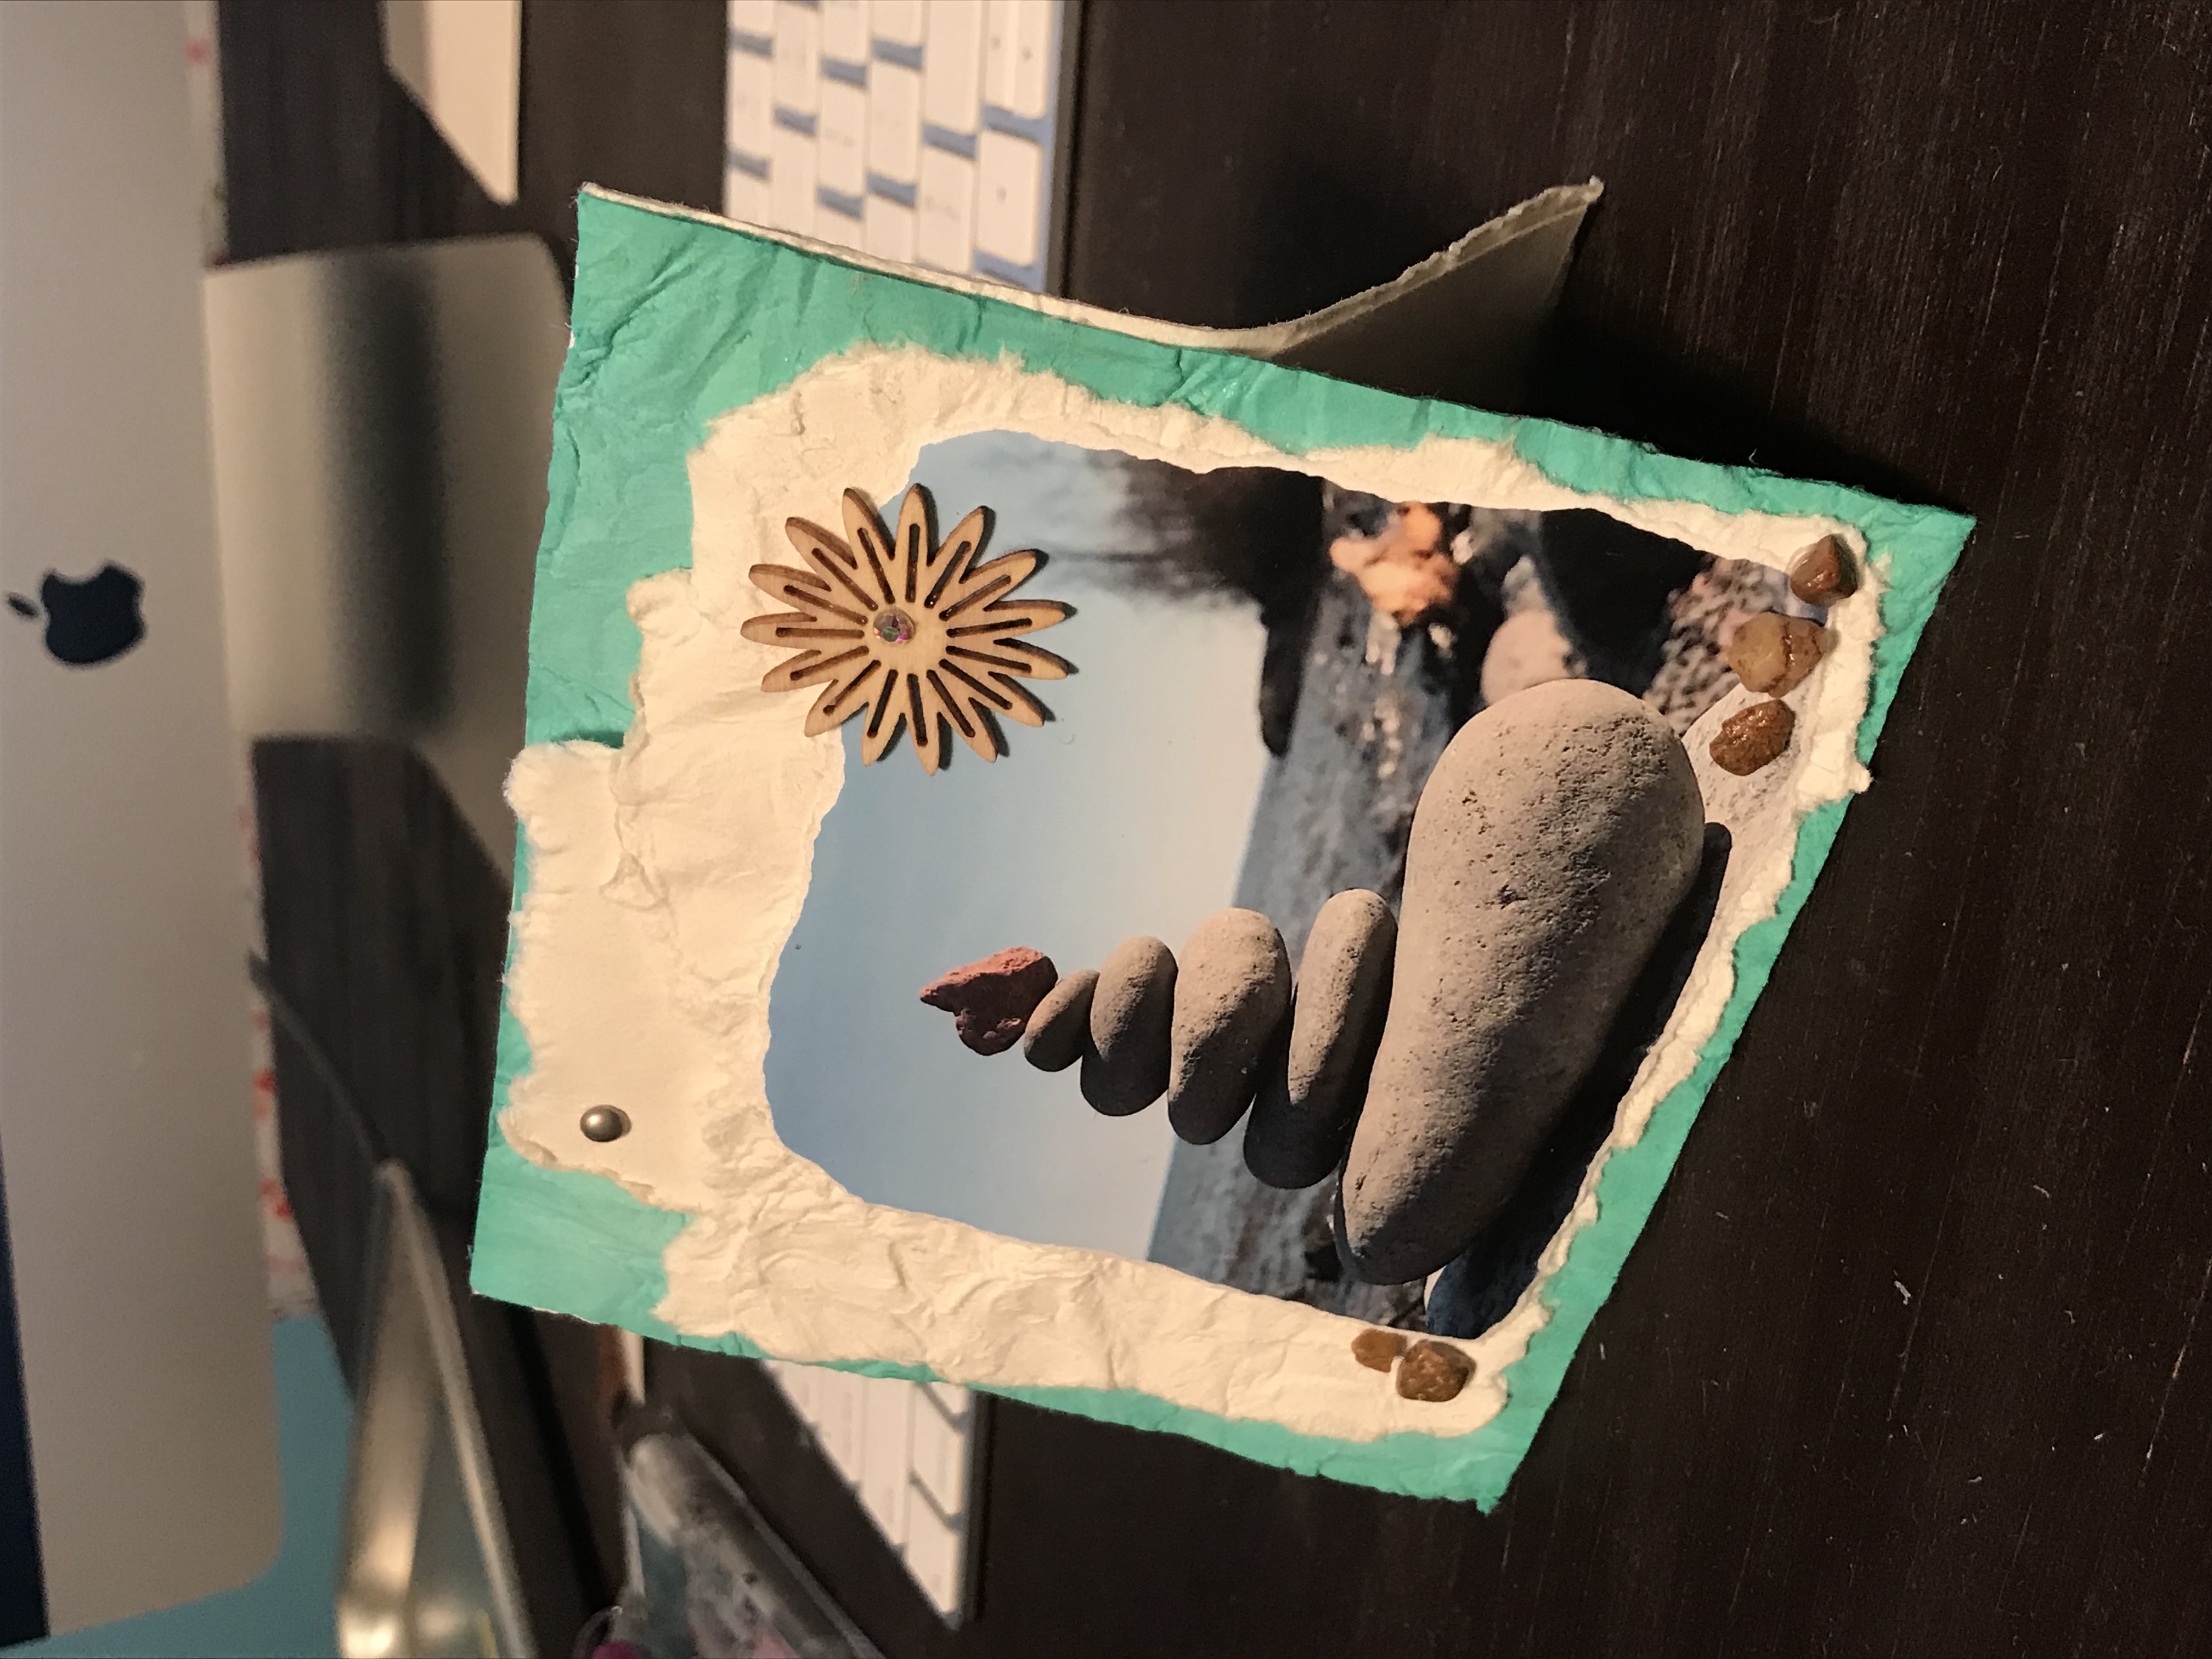
Let your creativity flow as you decorate the front of the card. There is no right or wrong way to express yourself. The possibilities are endless, I have created almost 400 giving cards so far and no two have been alike. I typically don’t add words so that the card can be a blank canvas for various messages that might get passed along from person to person. In other words, I make it abstract so it can be a “get well soon” message, or a “congratulations on your accomplishment” sentiment placed in the pocket.
Step 4: Choose a Meaningful Verse

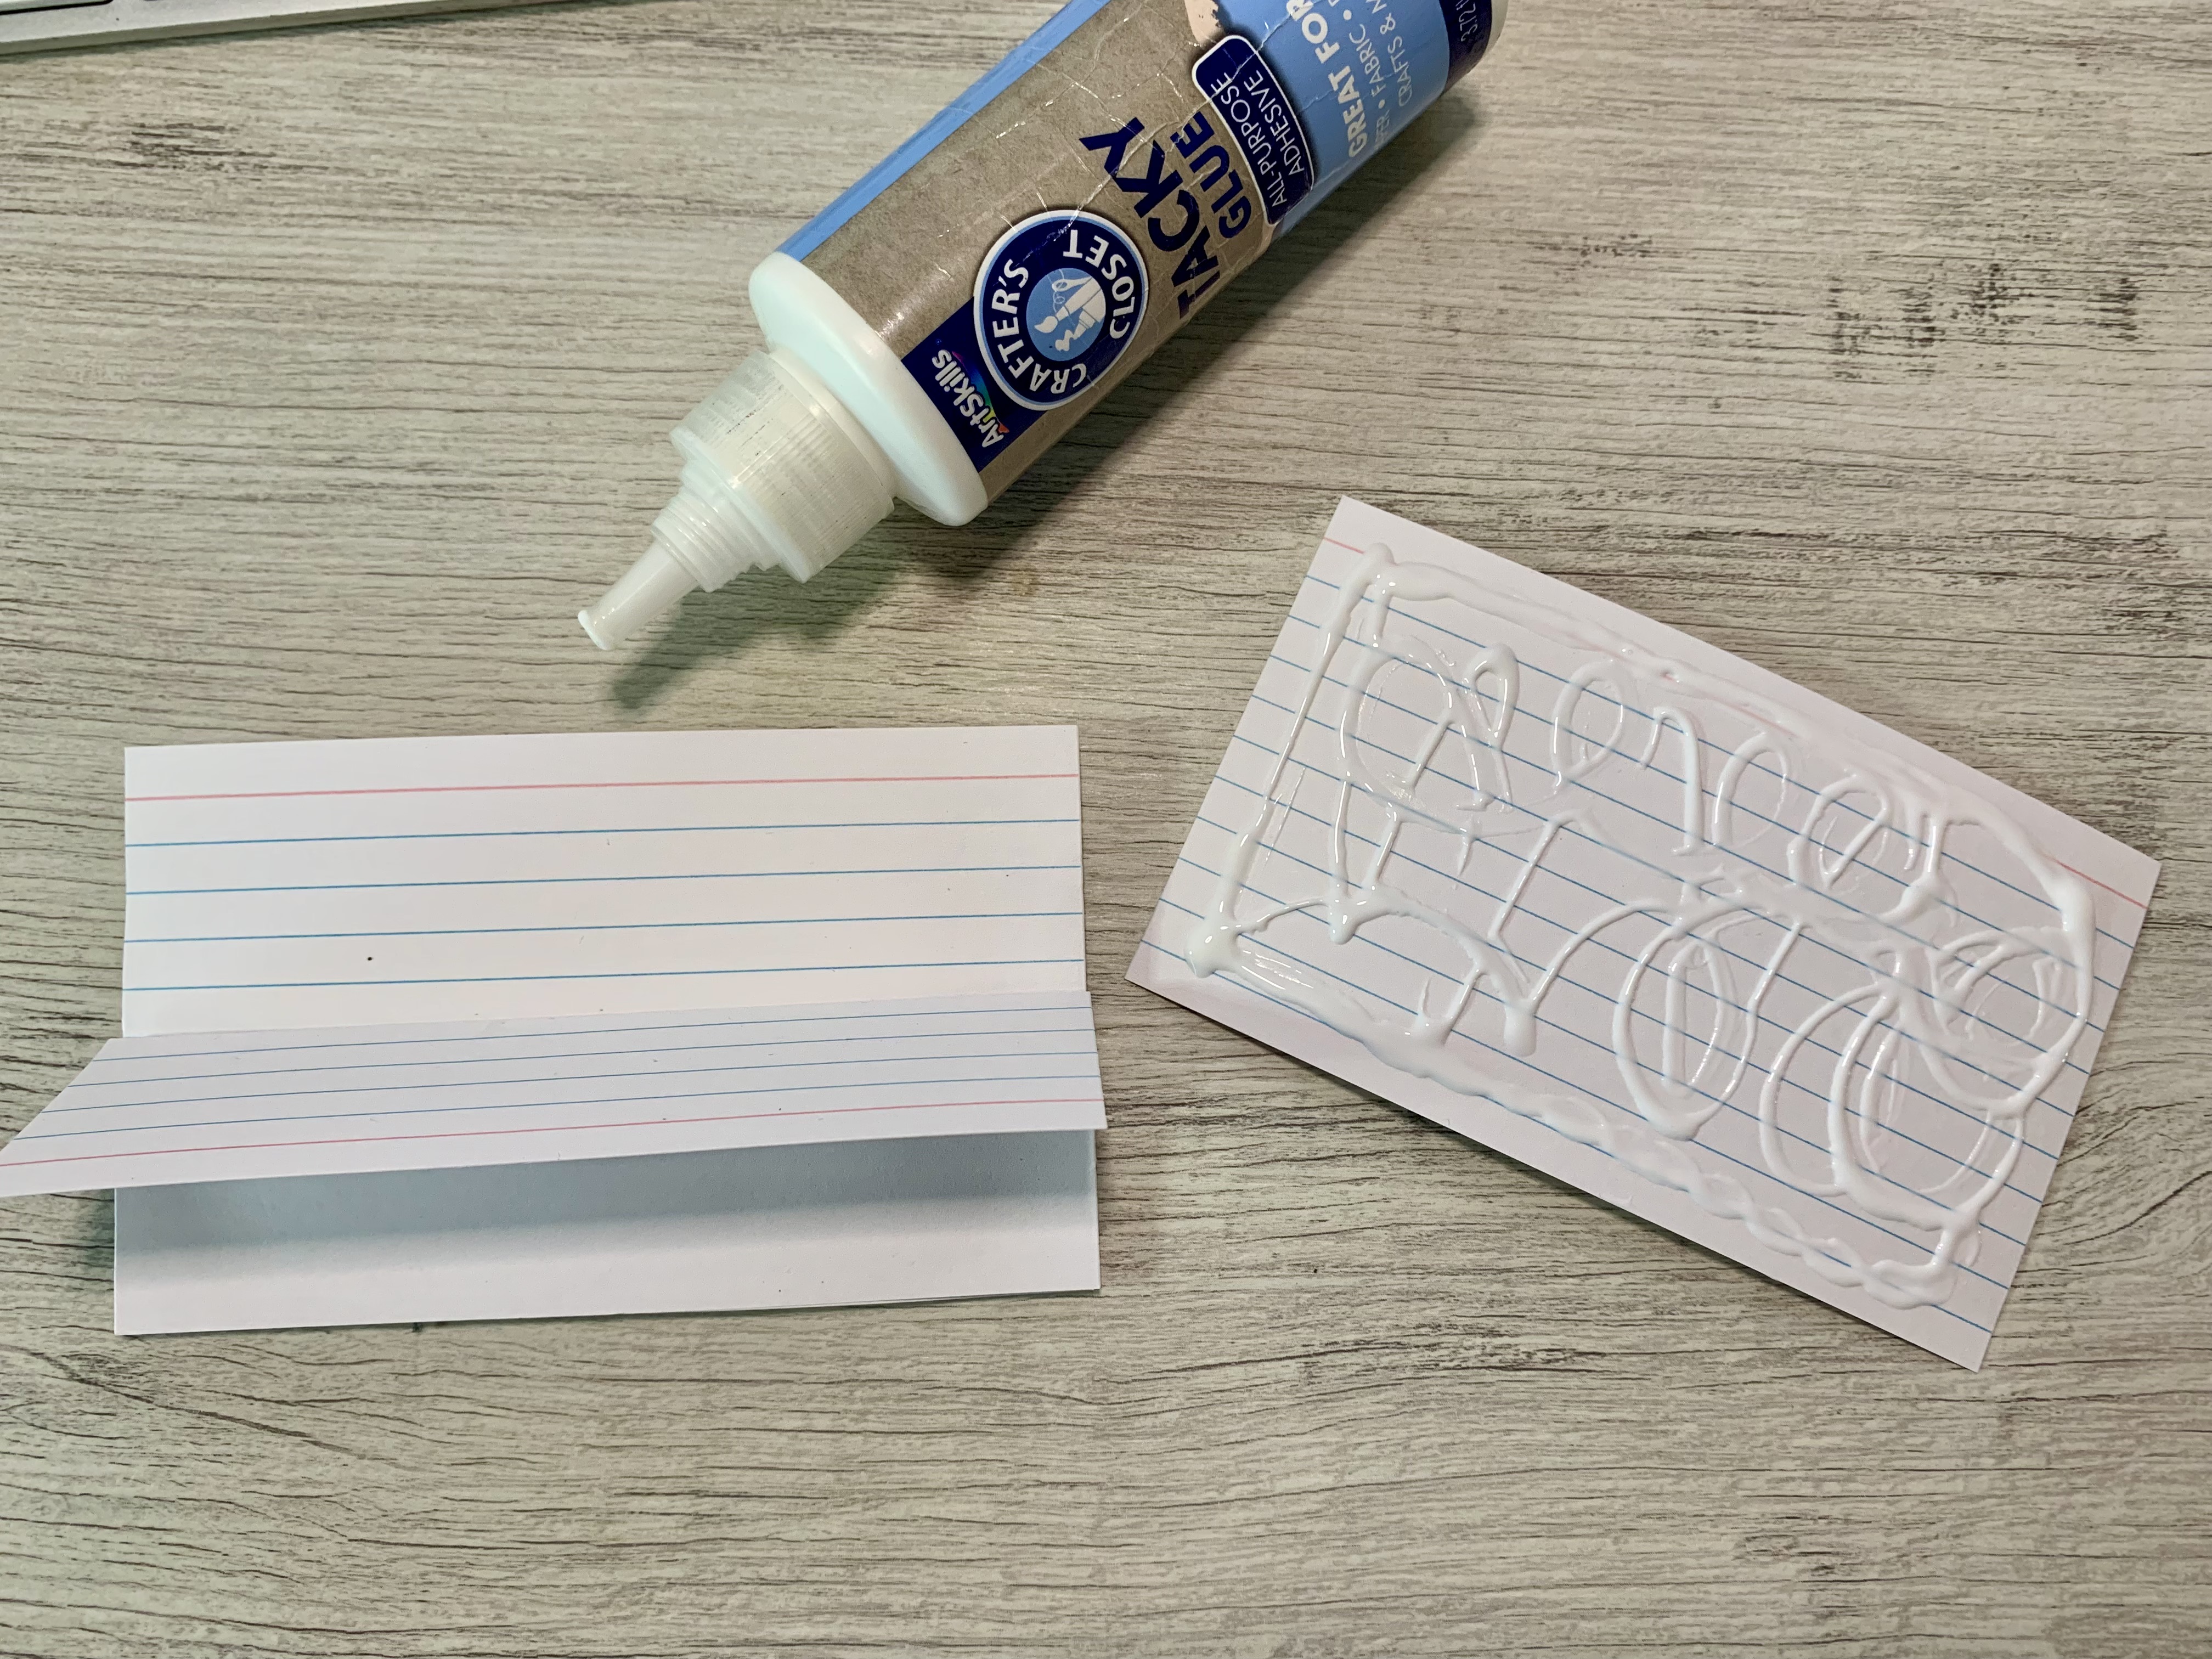
Select a Bible verse that holds special significance to you or one that you believe will inspire the intended recipient. Use a torn piece of another index card, or a pretty piece of paper and write the verse on it along with your own words of encouragement if you’d like. Slip the verse card into the pocket after the glue is dry. *Note how I allowed space between the verse and the recipient's name so that only her name shows up in the opening.
Step 5: Create an easel
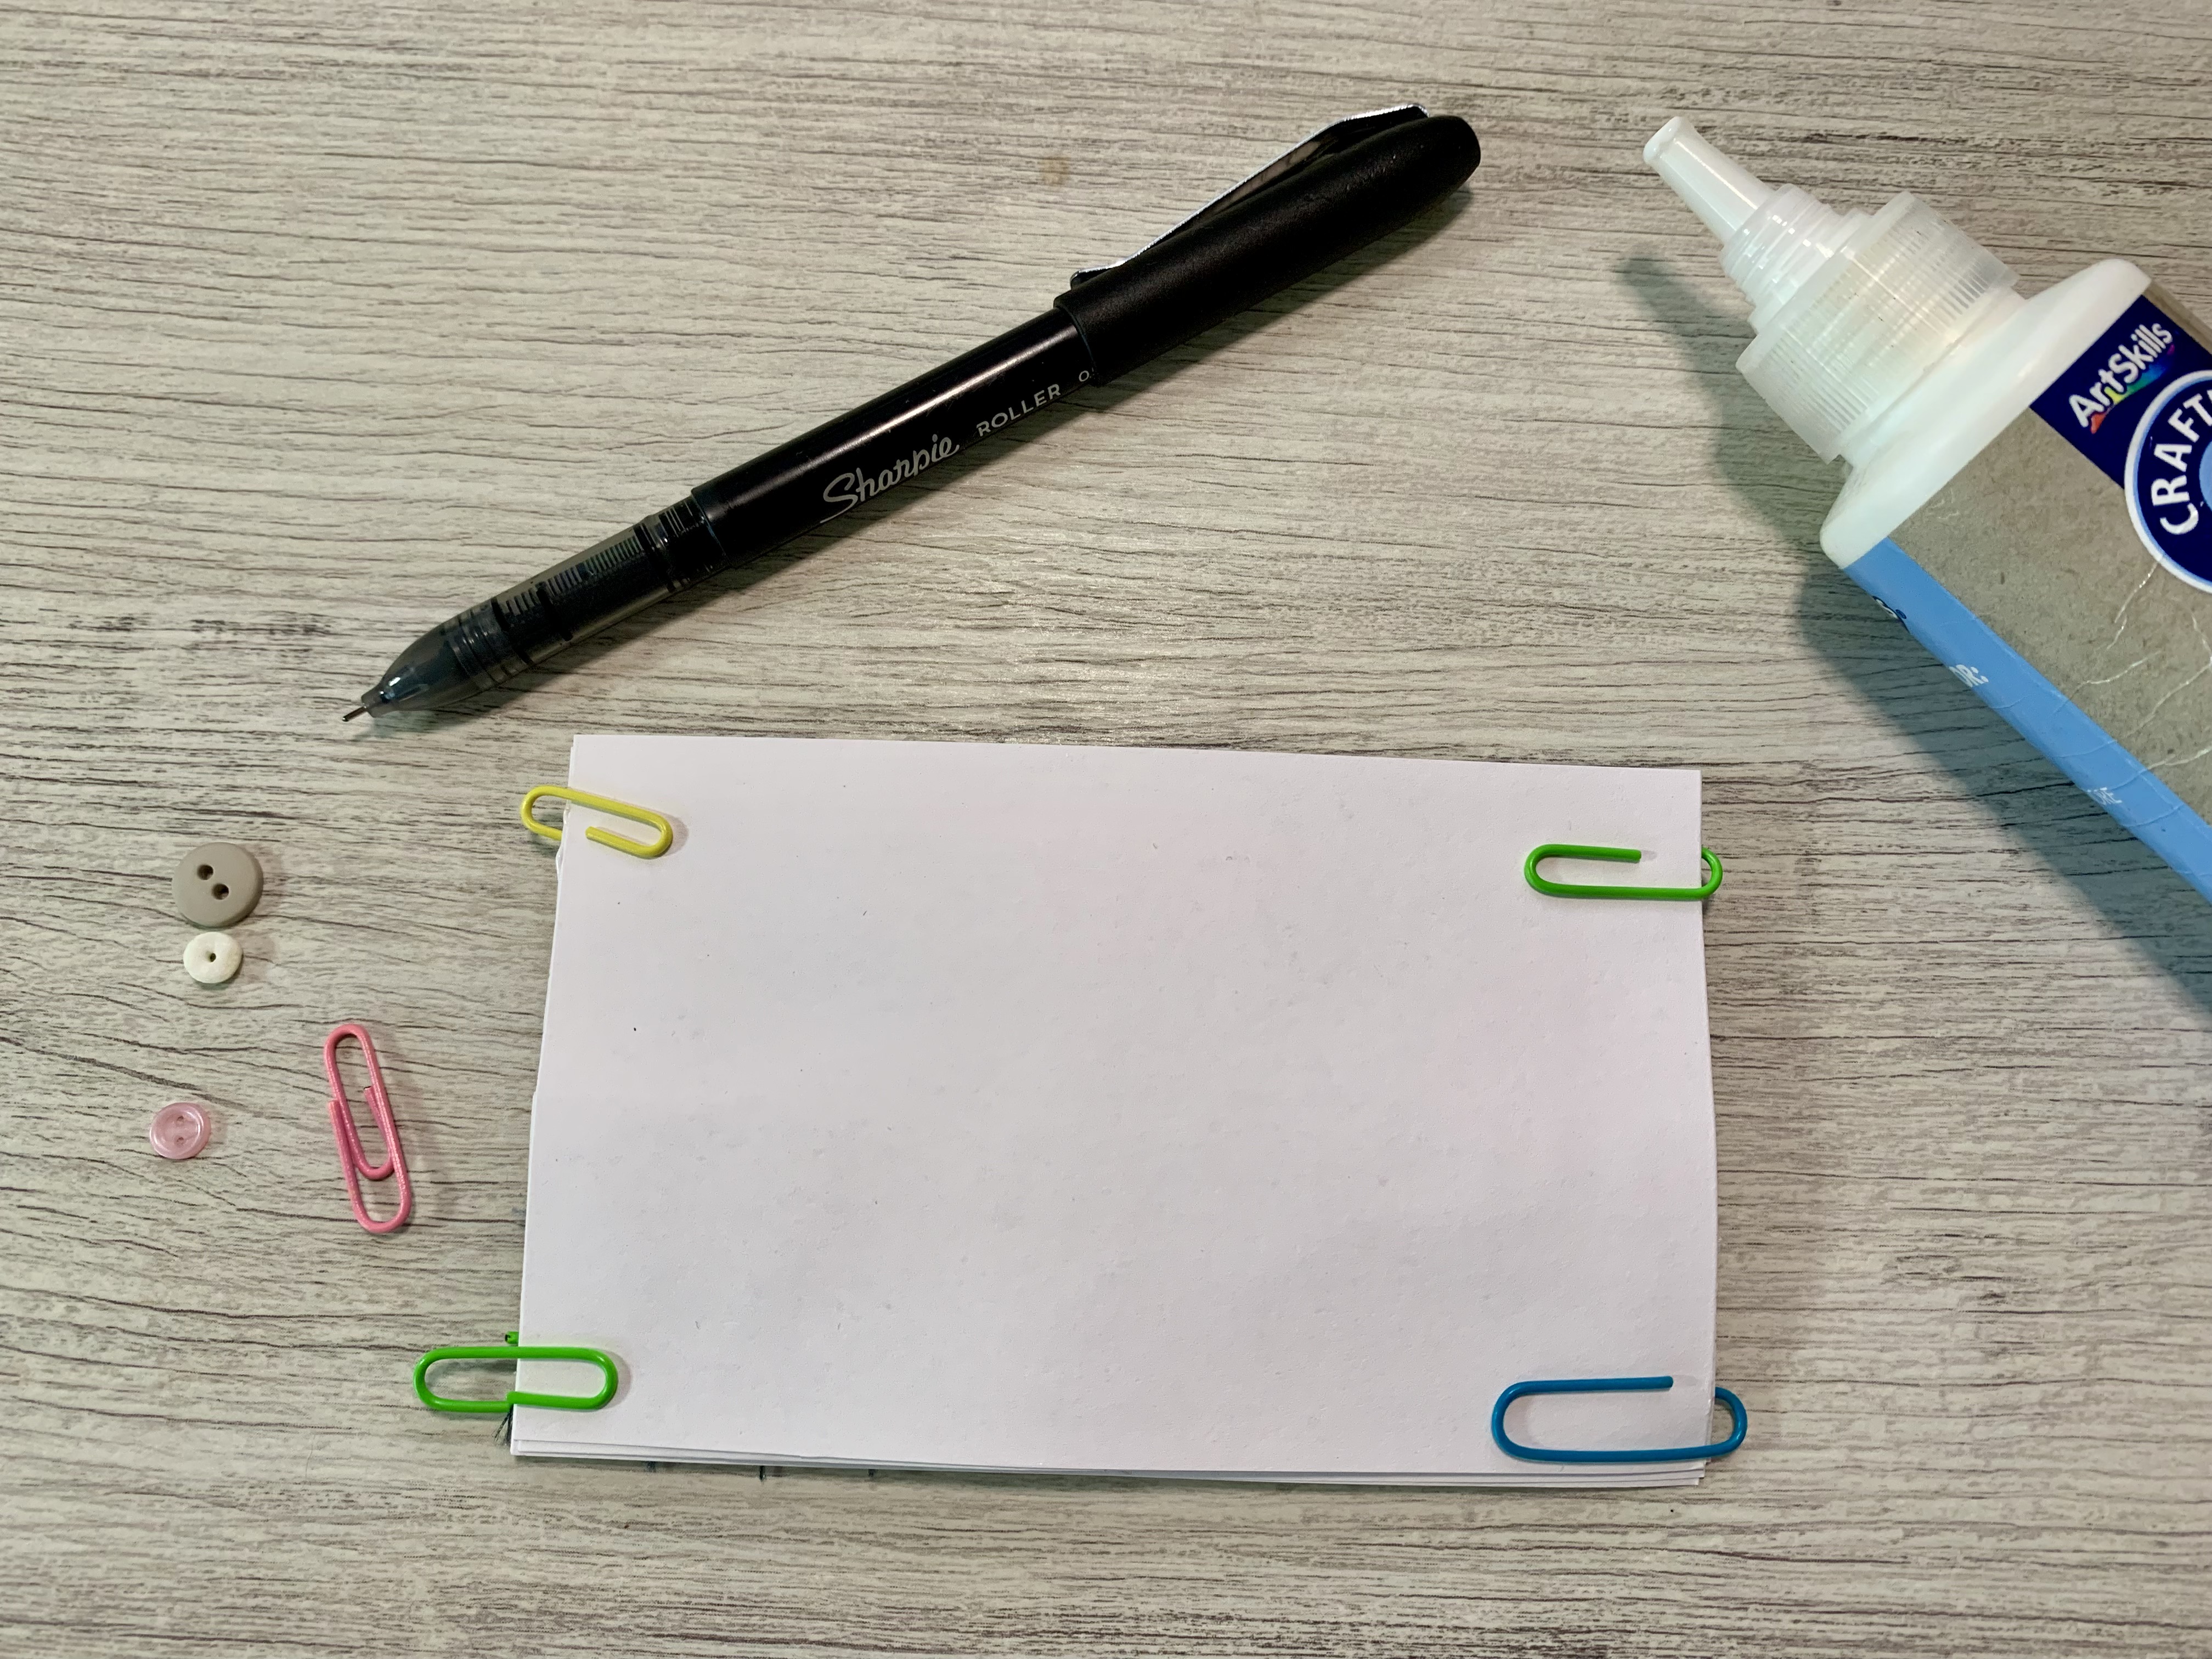
This step is optional, but it makes it easy for the recipient to display the card and enjoy it as a meaningful piece of art before passing it along. (And it also covers up the lines on the back if your index cards are lined.) To create the easel, take one of your remaining index cards and fold it in half the long way to make a tent shape with the lines on the outside. Apply glue to both sides of the “tent” roof, then affix it to the bottom edge of the back side of your card as shown. Now apply glue to the top half of your card and add your last index card with the lines on the inside. I use paper clips, clothes pins or a chip clip to hold the cards together while they dry.
Step 5: Share the Joy
Gift the Bible Journaling Giving Card to a friend, encouraging them to enjoy it for a while before passing it along to another person they want to encourage. Witness the joy and positivity ripple and spread as the giving card continues its journey, touching hearts and creating meaningful connections.
6. Try other types of paper
Experiment with different types of paper such as cardstock and consider printing your favorite photos to create the front pocket. This adds a personal touch and makes the creation process shorter.

To learn more about Bible Journaling and how to start recording your own faith journey the easy way, register for our FREE Bible journaling workshop. REGISTER HERE
